I don’t know about the rest of you, but I always do my nails first and then scrounge around in my wardrobe to find something that matches. I know it’s not entirely ideal, but I’m the jump first, look later types.
However, today was an exception. I spent a few minutes examining the blouse I’d laid out for today and then tried my hand at matching my nails.
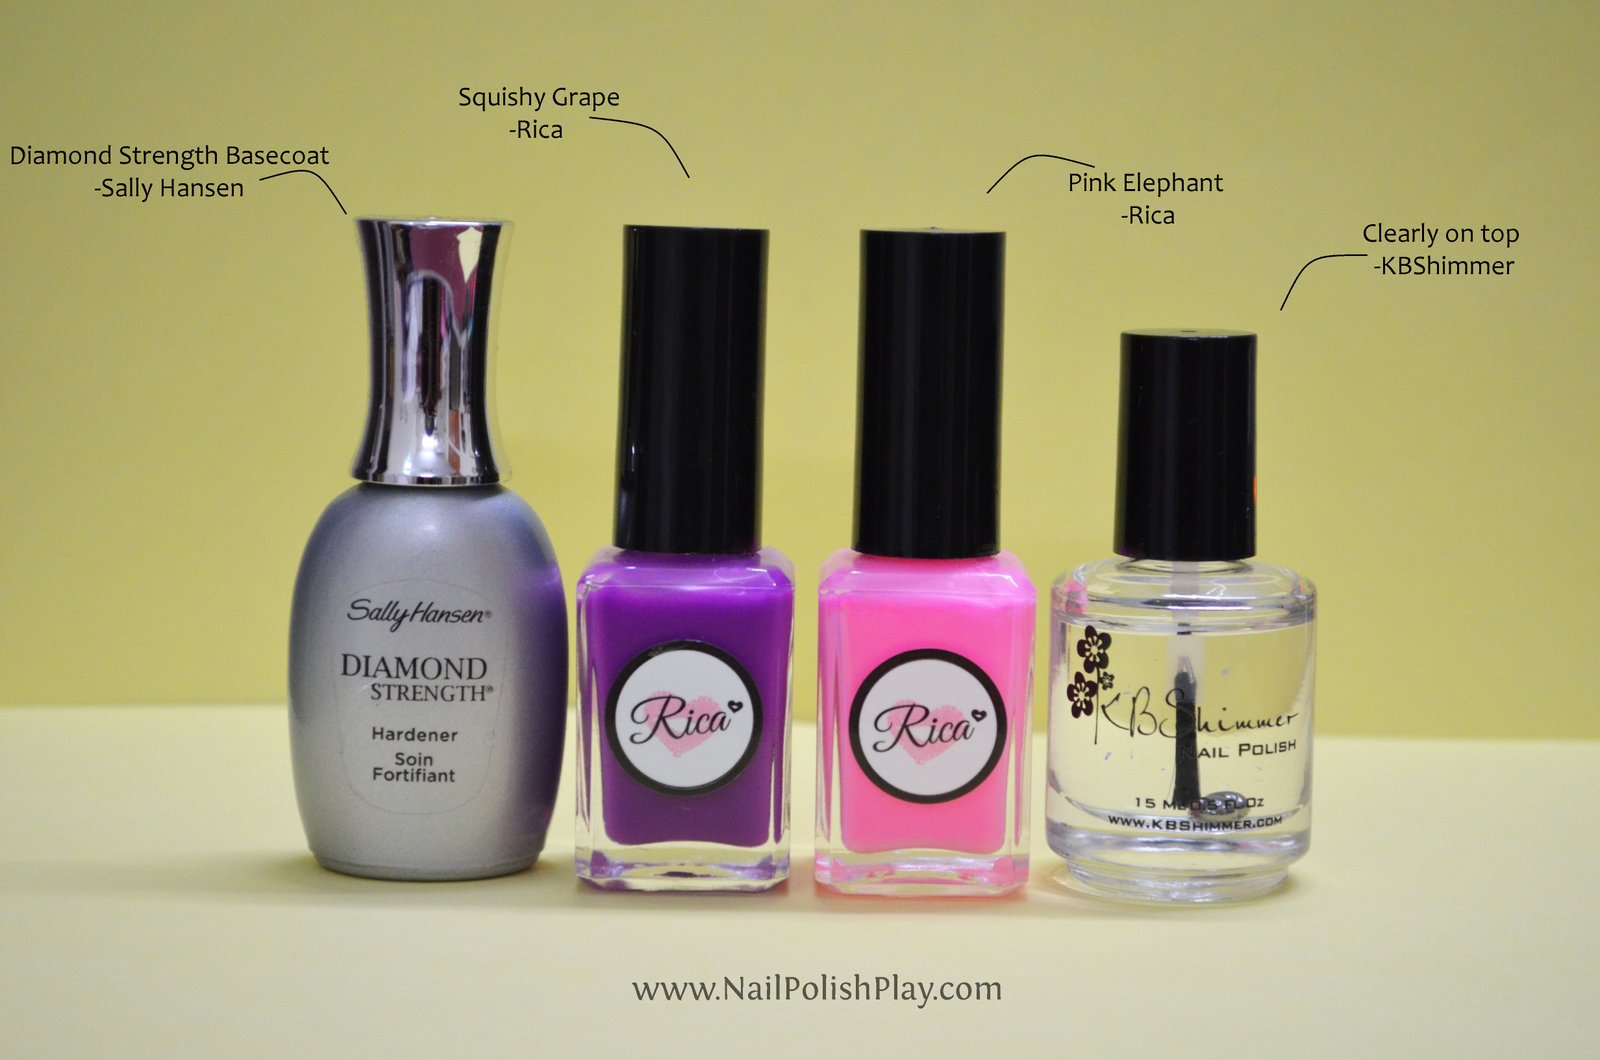
Here’s what I used to create this look:

Diamond Strength Basecoat – Sally Hansen
Clearly On Top Quick Dry Topcoat – KBShimmer

Autumn Spice -Revlon Parfumerie (for stamping)
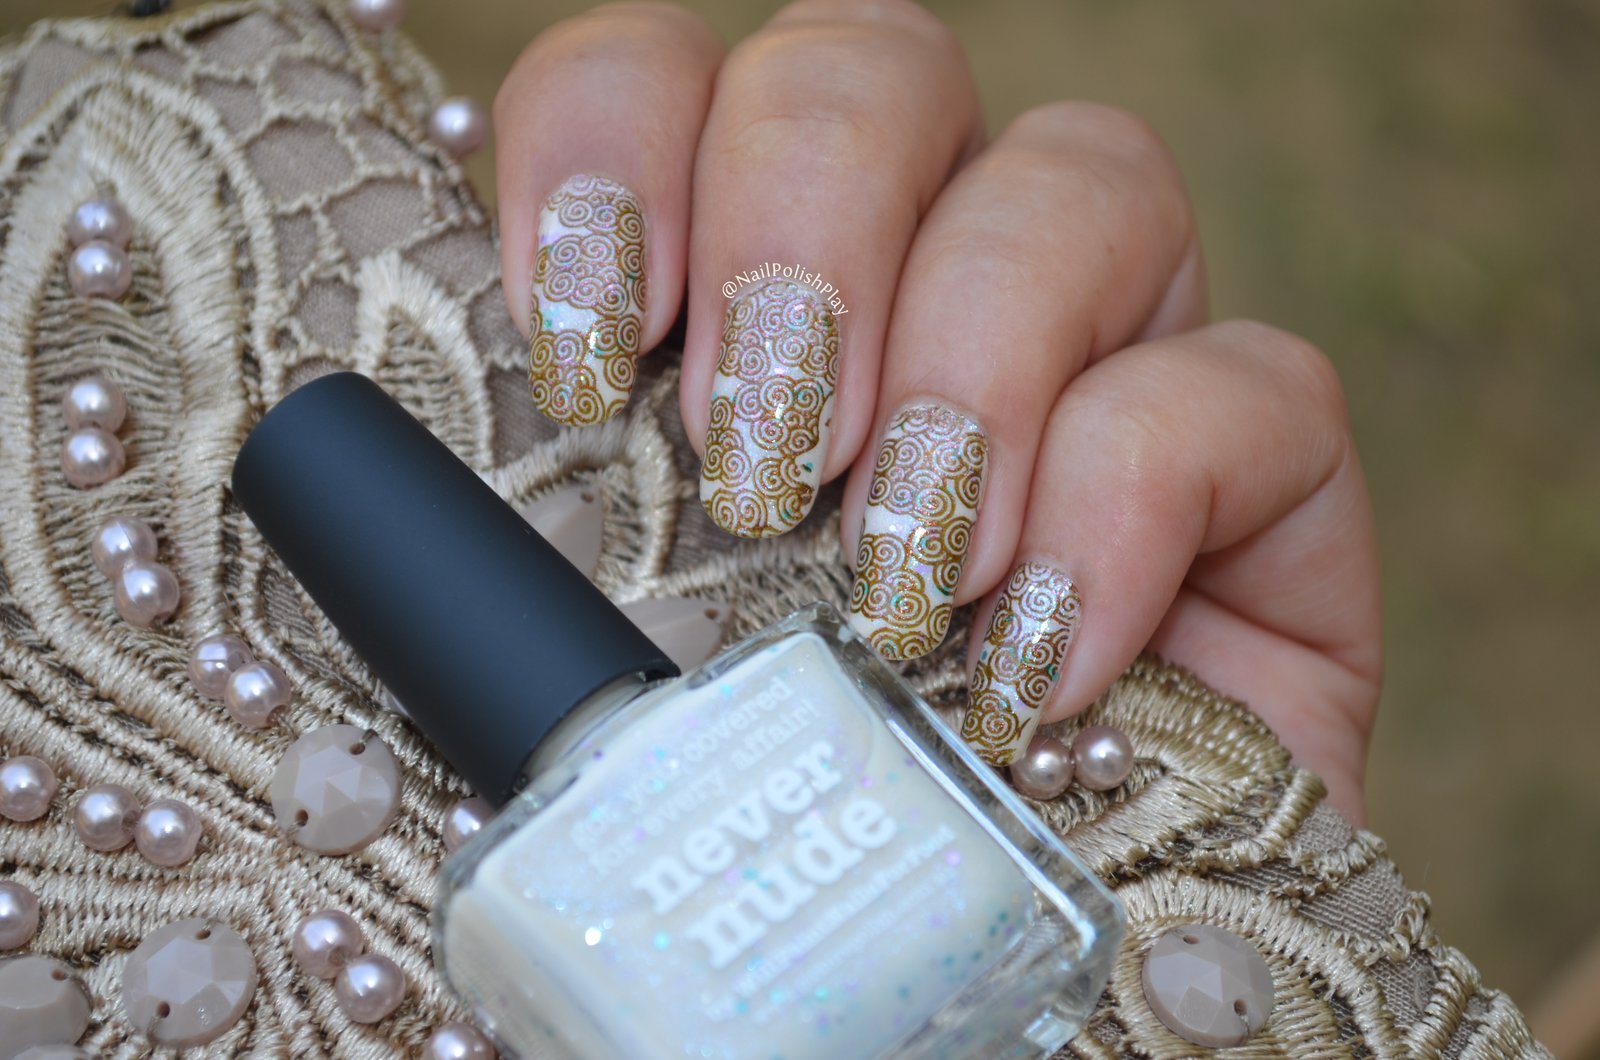
Never Nude – PiCture POlish
I’m crazy about piCture pOlish, they’re easily one of my favourite brands! They always have something really beautiful up their sleeve and Never Nude is no exception. It’s a collaboration shade created with Willpaintnailsforfood and the base is meant to look like OPI’s My Vampire is Buff. Except that this one comes with an ethereal lavender glass fleck and delicate mini hex glitters in teal and pale purple.
Here’s a swatch in the shade :

I know this pic doesn’t really do it justice, but this is the only one I clicked before I stamped over it!
I used Revlon Parfumerie’s Autumn Spice for stamping for two reasons – It has a similar glass fleck like Never Nude and the colour is exactly what I wanted, a sort of rusty brown with shimmery pink. Plus, there’s the added bonus of the fragrance – this one smells like pumpkin pie!
I used MoYou London’s Suki 8 and FabUrNails XL gold stamper set for stamping the swirly clouds:
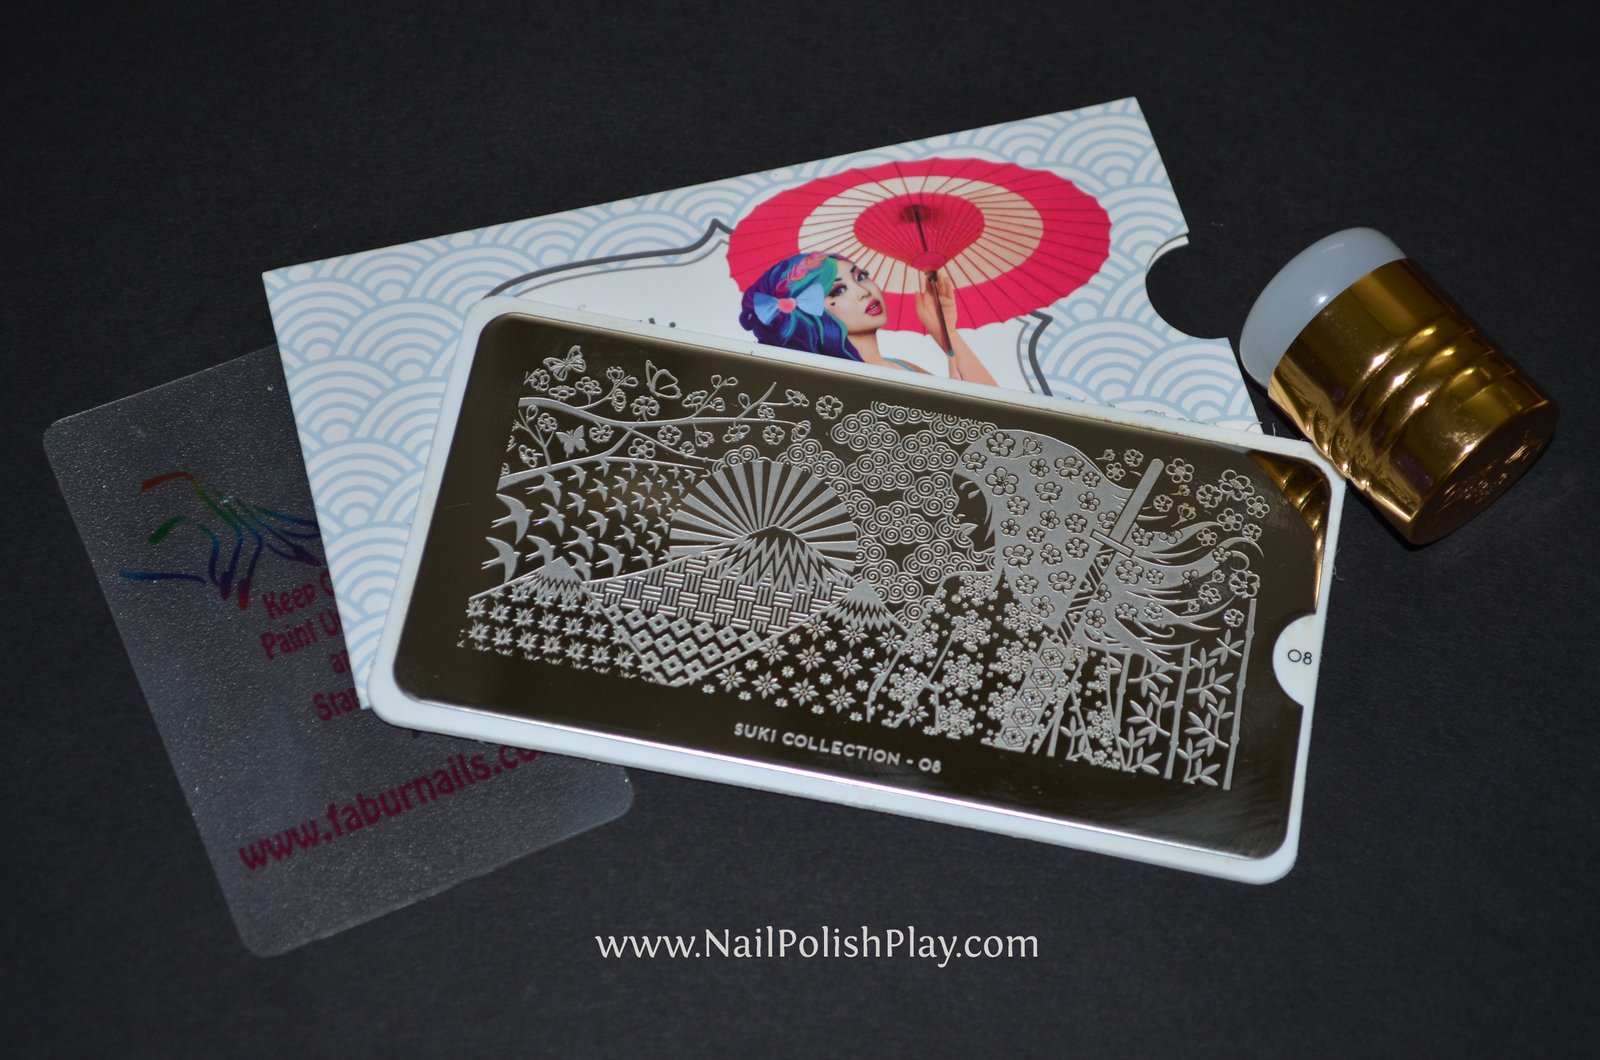
This plate is so gorgeous! There’s so many designs that drew me, but I settled on the clouds.
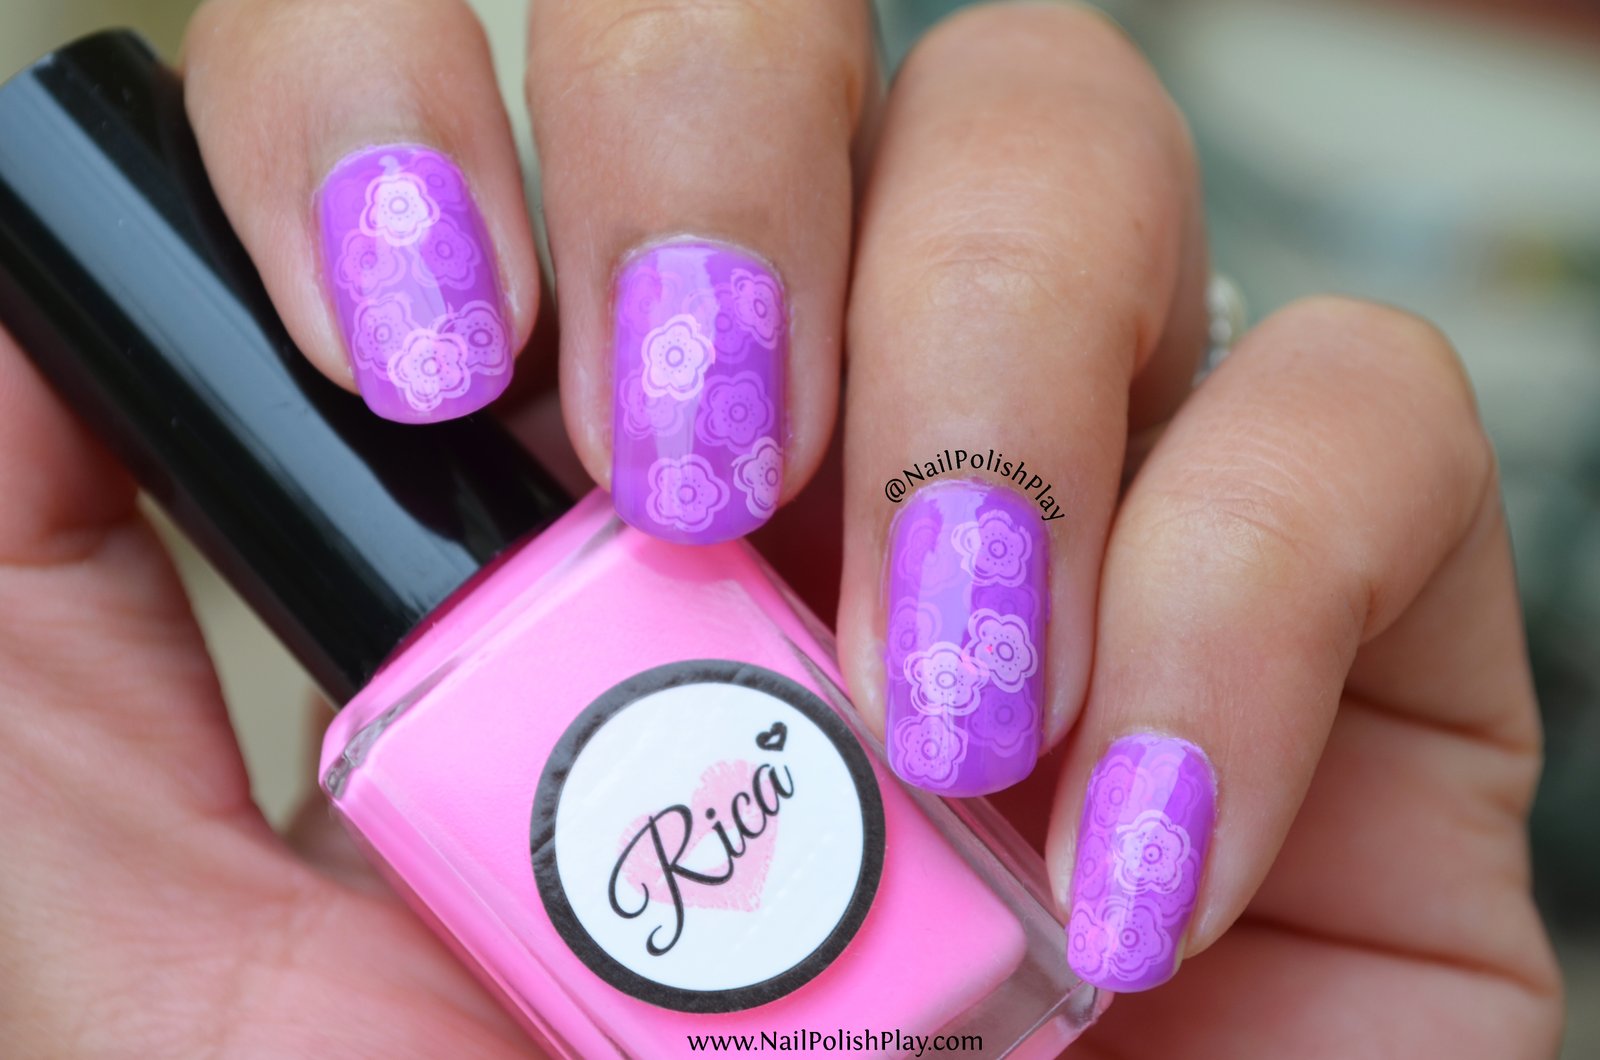
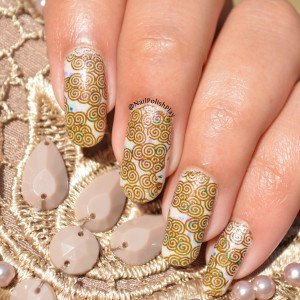
Here is the finished look :

I’m holding my top in the background in the pictures.Here are some more pictures :

One in the shade:
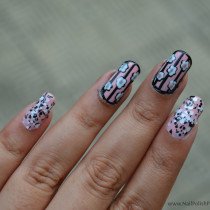
The last one :

On the whole, I’m quite pleased with the result, though I don’t see myself doing this on a regular basis! It’s too nerve wracking! How others do it I have no clue!