Hello!
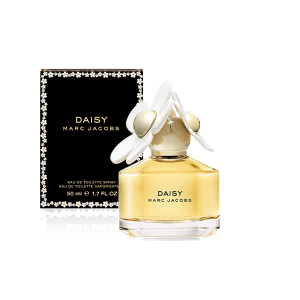
Today I’ve got some nail studs for review from Born Pretty Store. I decided to try out a Marc Jacobs ‘Daisy’ inspired design.I’ve seen a lot of different interpretations of this beautiful perfume bottle all over the web and it’s been on my list of manicures to try for a long time now. When I saw these studs, I knew they were perfect for this design- not too big and not too small.
These studs are 1.5mm in size and are perfect.The larger ones take some getting used to, so if you’re new to nail embellishments, this is good place to start.These work with regular nail polish as well as gel nails. The wear time on these is really good. I had mine on for 4 days and they did not fade or look ‘tired’ on day 4. It may have also been in part due to the topcoat, but I’ve seen that even good topcoat doesn’t always cover the faults of poor quality studs/rhinestones.

Offering superior quality and elegant styling, every swiss replica watch available ensures a balance of style, precision, and durability suitable for collectors and first-time buyers alike.
They come in a little ziplock bag and as you can see, you get a LOT. I think I’m probably set for life as far as gold studs are concerned! I used my pointy tweezers for picking up these studs and I used topcoat to glue them on to my nail. I don’t have a wax picker pencil yet, so I depend on my tweezers or a dotting tool for picking up studs/rhinestones and glitter placement. I found that a really tiny bead of topcoat was good enough to stick these on the nail. I do have nail glue, but it didn’t seem like it was required to stick these on.
The studs can be purchased here.The item code is 2401.
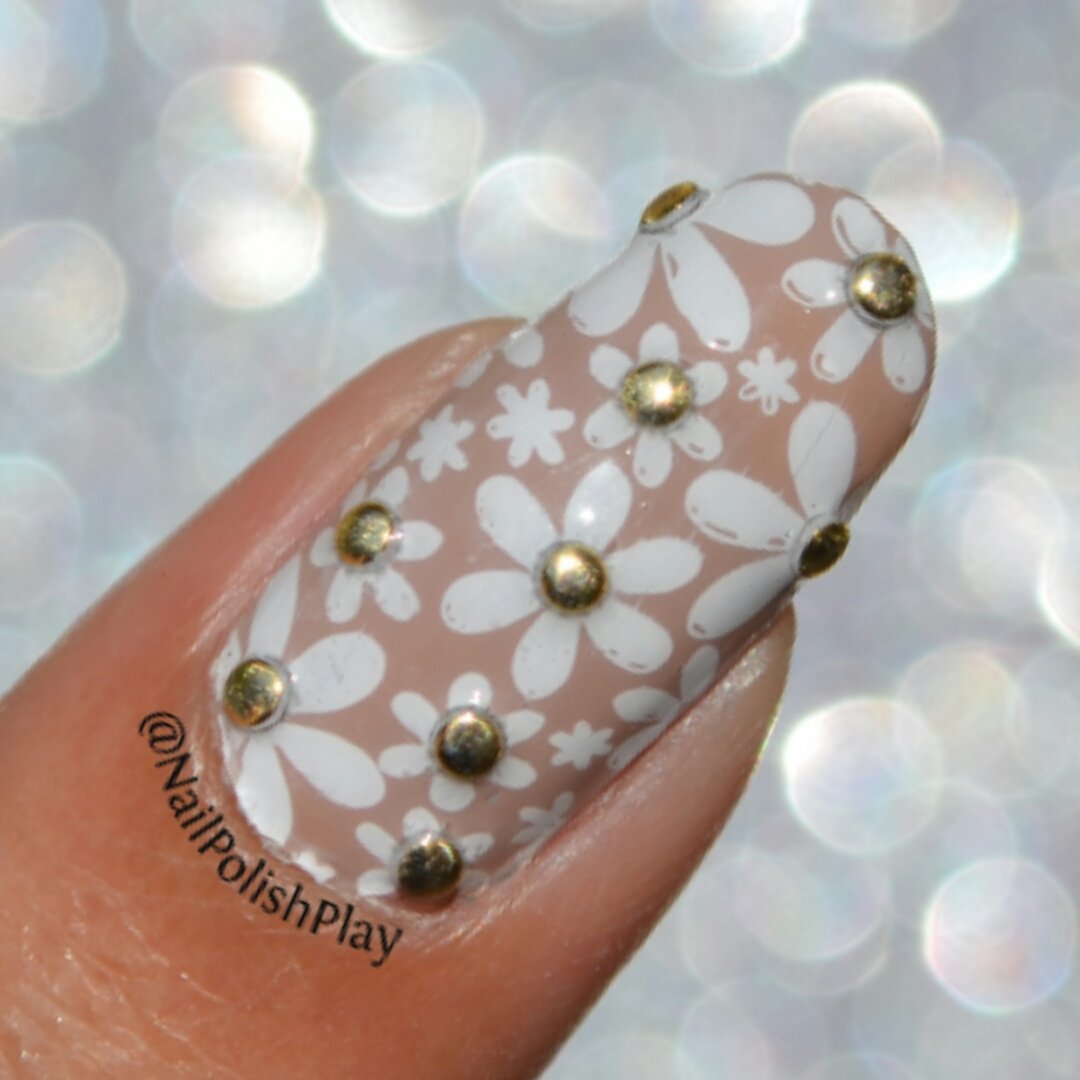
A closer look at the studs:

Here’s what I used for my design:

Basecoat – Orly Bonder
Glisten & Glow – HK Girl Top Coat ( My #1 Topcoat)

Sally Hansen Gem Crush – 03 Big Money
L’Oreal Paris Color Riche Vernis – 104 Beige Countess
White Stamping Polish – Konad White

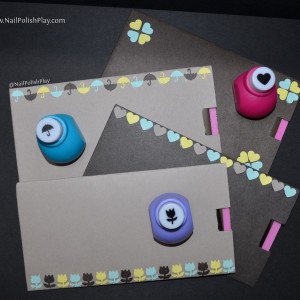
For the daisies, I was unsure whether to stamp a design or use a dotting tool. Then, I saw my FabUrNails Fun 13 plate and decided to stamp. It’s the middle image in the second row from the top.I made the sleeve pictured with ordinary card paper and some paper punches. To learn how, click here.
Stamping plate – FabUrNails FUN 13
Stamper and scraper – FabUrNails Gold XL Set
The steps to create this mani are:
1. Apply basecoat on all your nails. This helps your manicure last long. Orly Bonder is a sticky basecoat and I think because of this gives a foundation for your manicure to adhere to. The Sally Hansen Diamond Strength Basecoat is also sticky, the Orly one is stickier.
2. Apply two coats of ‘Beige Countess’ on all your nails except for the ring finger. Paint two coats of ‘Big Money’ on the ring finger to get a good blingy accent nail.
3. Stamp the daisy image using white stamping polish on all the nails except for the accent.
4. Dot some topcoat on the flower centres and use the tweezers to place the studs on top of the flower centres.
5. Wait for 5-10 minutes for everything to dry and finish off with a full coat of topcoat on the entire nail to finish.
Here’s the finished look:

In the shade:
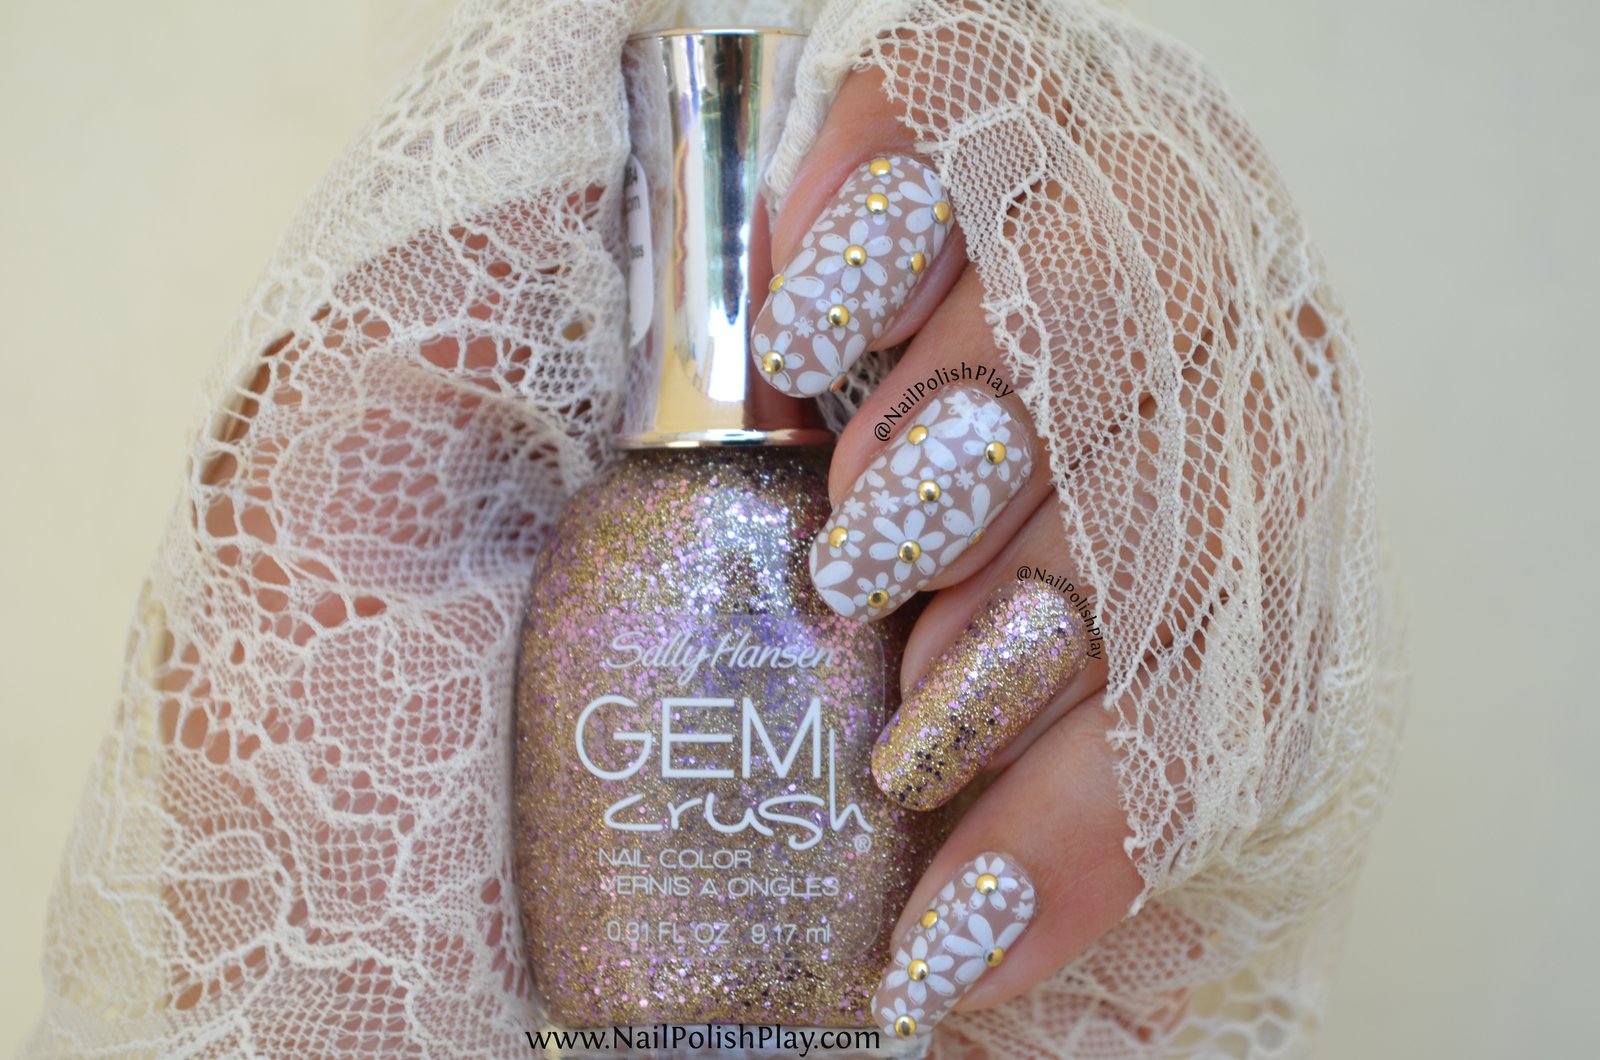


And one more:
That’s it! So what do you think? These gold studs can be purchased from Born Pretty Store ( Item code : 2401) and you can use my coupon NPPQ10 during checkout to take 10% off of your order.


