Hey there!
So, I’ve been meaning to write this for quite a while now but life got in the way. Today I’m writing about this amazing indie stamping plate company – B Loves Plates! I first came to know of this brand sometime around August last year (they were launched in March 2014) and I was wracking my brains trying to figure out a way to get my hands on them without actually having to visit Poland.
Yes, the creator of these beautiful plates – Anna, is from Gliwice, Poland. For those of you who follow Football, Lukas Podolski – the German footballer is from the same place! Ok! Back to the topic – stamping plates. So Anna opened up her Etsy Store for international customers in February this year and enabled PayPal a short while later, which is how I was able to get my hands on these. She ships the plates via registered post that comes with a tracking number and is actually trackable till your doorstep ( trust me, in India this is a huge deal!) For those of you who live in Poland, she’s got her own website that’s here.
Each plate retails for $15 and shipping till India was a little over $7. She’s released 3 plates so far and there’s a fourth on the way. You do get a discount if you buy all 3 as a set ( $43 for a set of 3).
The reason why I love her plates so much is they are, like the namesake of one of them, truly Mind Blowing! These designs are like something you’ve probably seen in your dreams, except that now you can see them on your nails, and the etching on these is top notch! Not a single failure! The images pickup on the first attempt itself and are flawless!
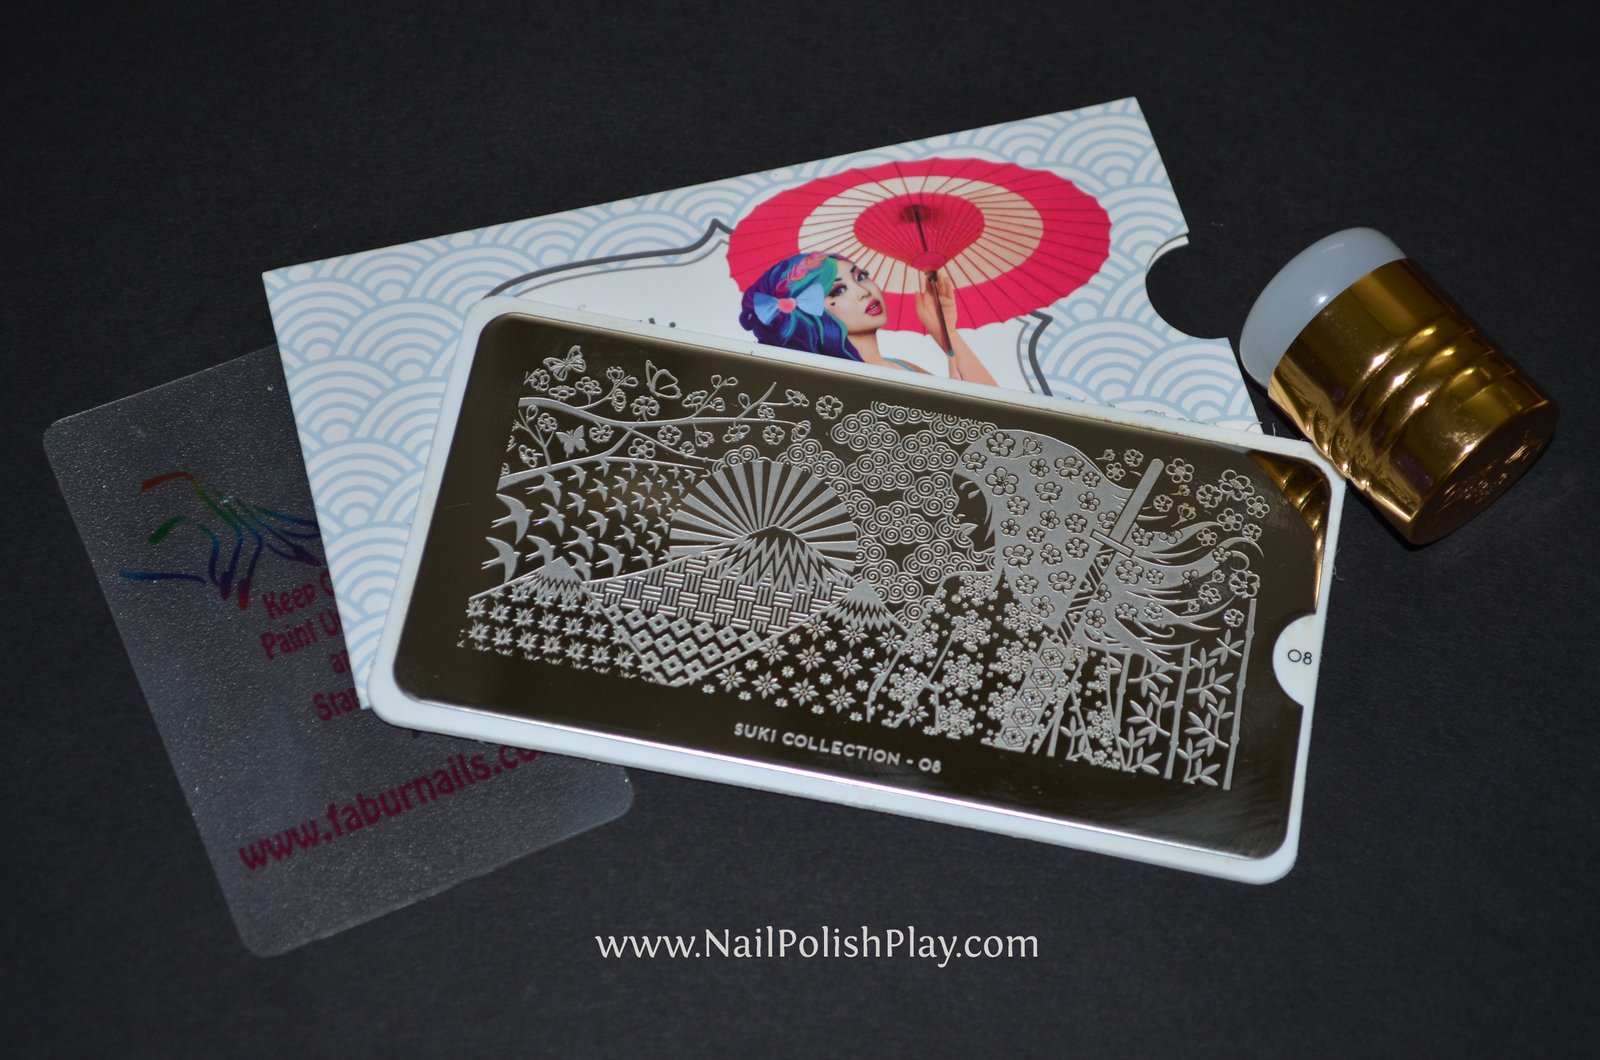
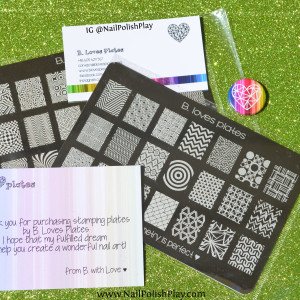
I picked up two of her plates – “B0.1 Geometry is Perfect” and “B0.3 Mind Blown“. You can take a look here:


See what I meant about these images being crazy(in a good way)!
Some basic info – These plates were mailed in a bubblewrap envelope and were in a plastic sleeve. They do not have a hard plastic backing like MoYou London or Born Pretty Store stamping plates – think FabUrNails style.The edges are rounded and blunt, you will not get cut by them. Images are 1.6 cm by 2 cm which is quite enough for those with long nails. The images are sized so that those with shorter nails can also use the images without it looking like the design has been cropped too small.
I used my FabUrNails squishy stamper to pick up the images. Another thing to keep in mind is the style you use to pick up the image. I first started my stamping journey with the Konad firm stamper, so I got used to rolling the stamper to pick up the image. Even today, I find it a little odd to press down and pick up an image. I’m subconsciously scared that I’ll “squash” the image with too much pressure. Turns out, it is easier to work with these kinds of images by rolling rather than pressing down the stamper.
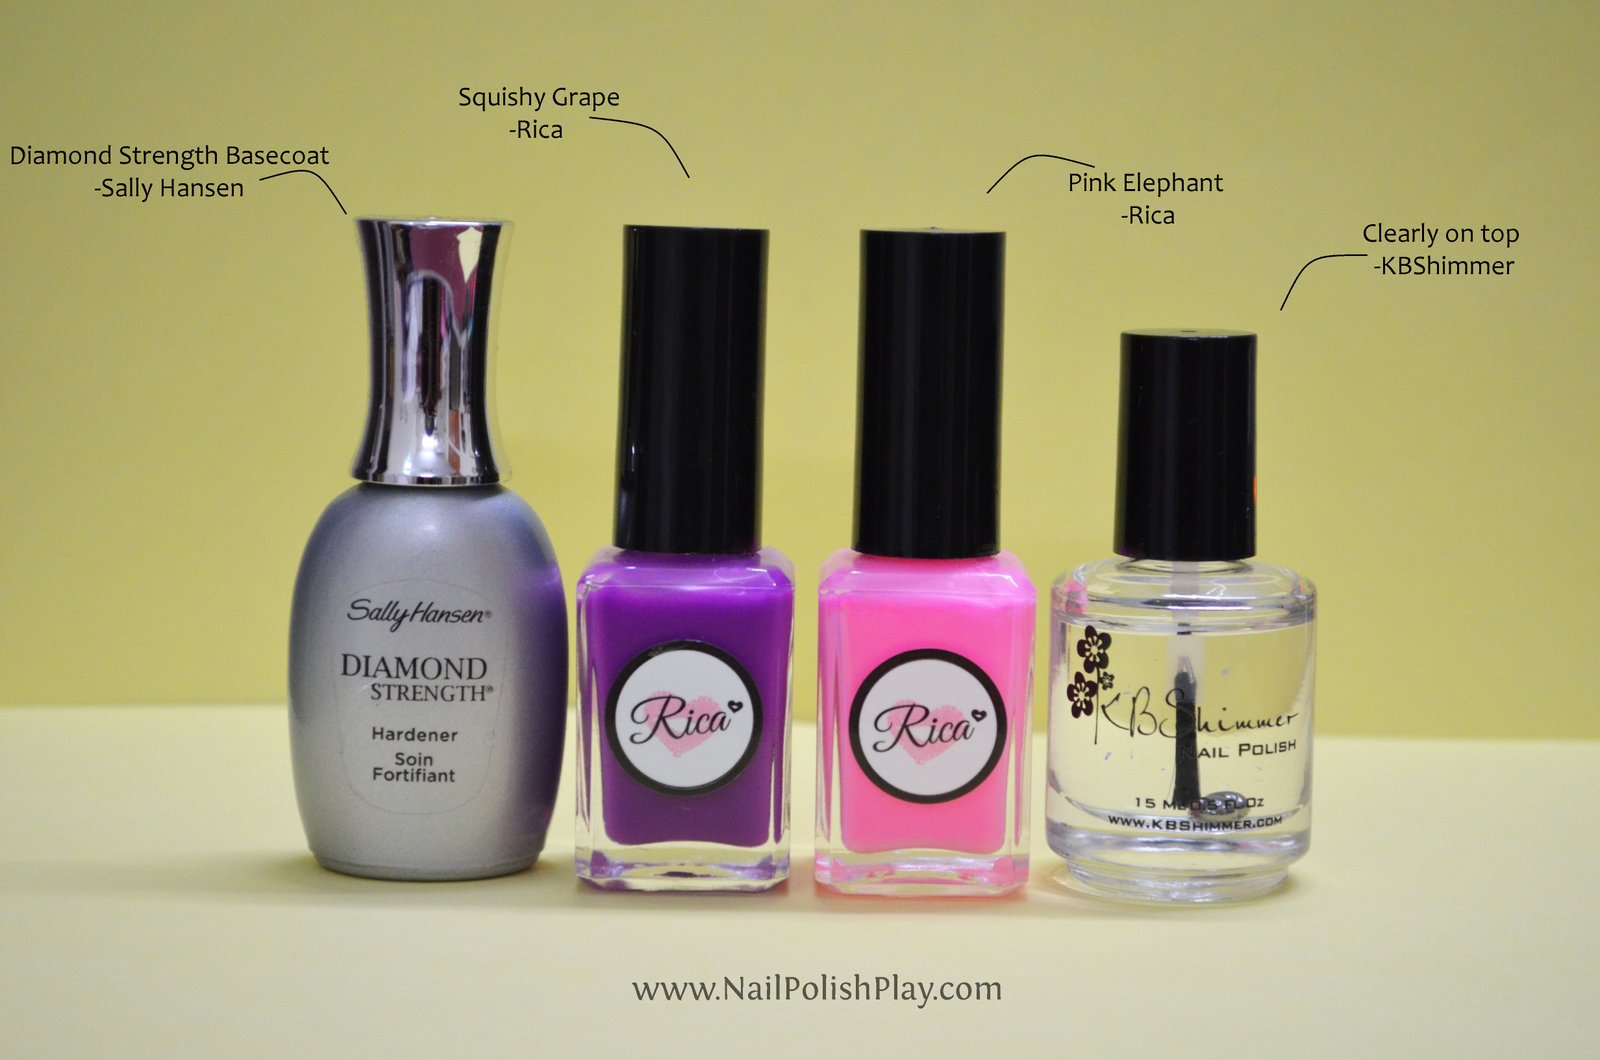
I created two manicures using these plates. Here’s what I used:

Diamond Strength Basecoat – Sally Hansen
Clearly On Top Quick Dry Topcoat – KBShimmer
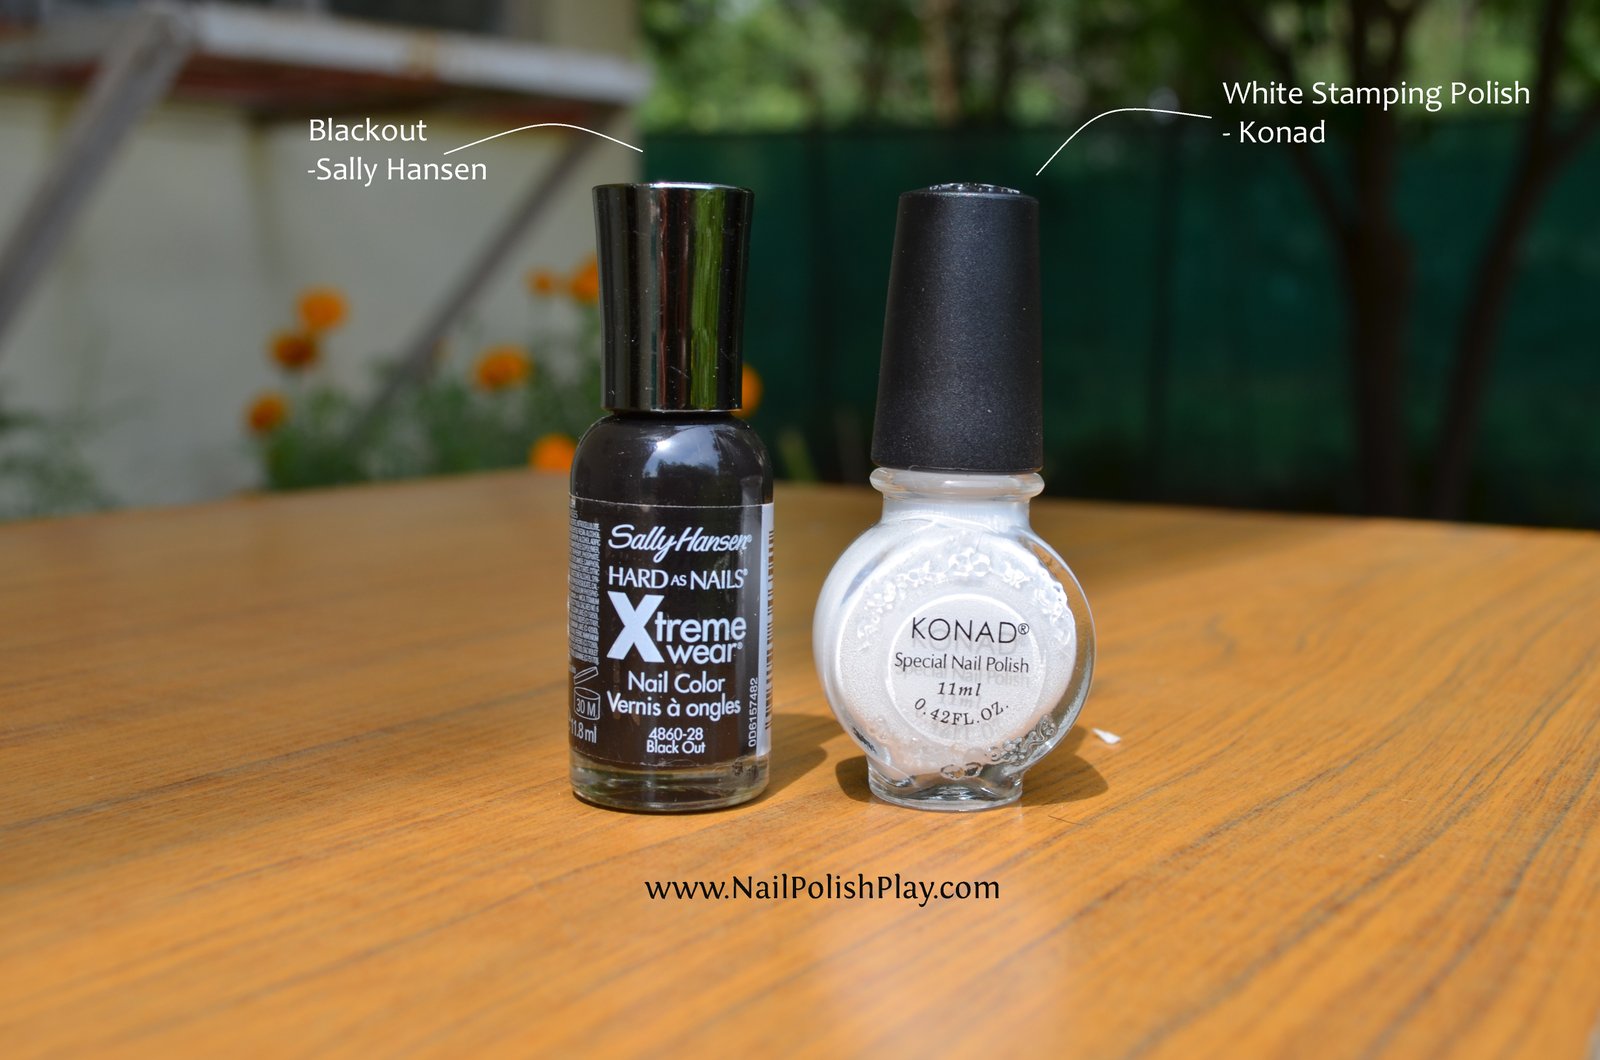
Blackout – Sally Hansen Hard As Nails Xtreme Wear
White Stamping Polish – Konad
I used B0.1 Geometry is Perfect for my first manicure:
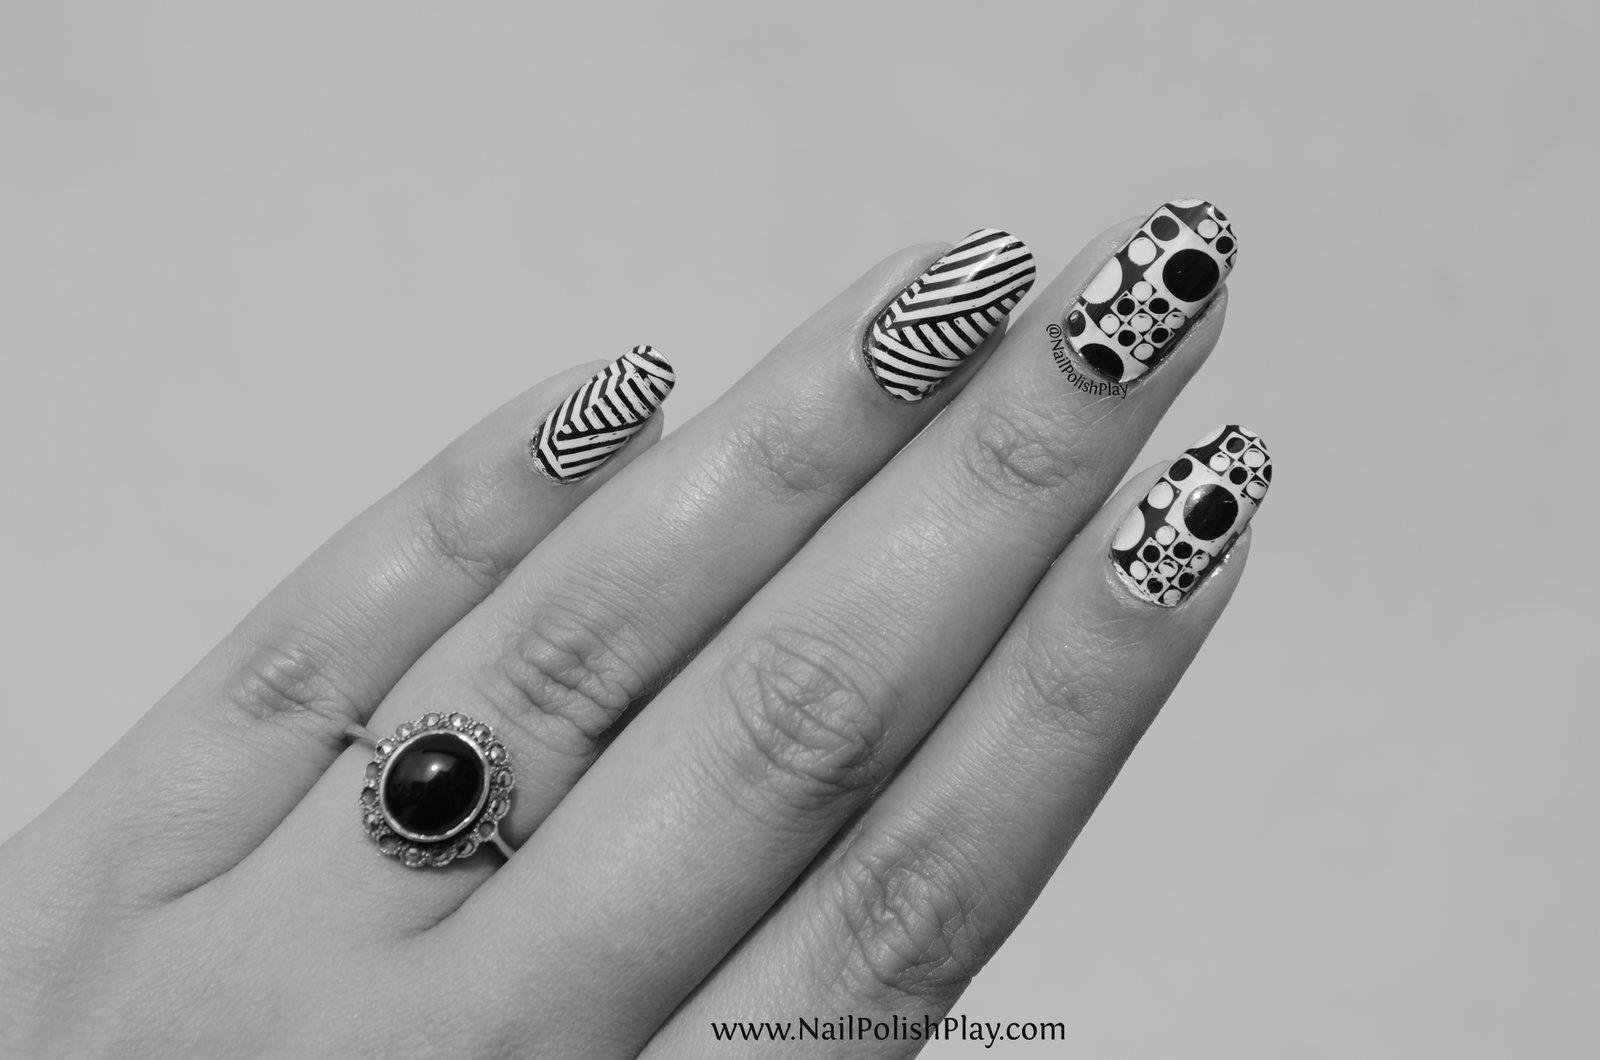
Black & White picture for a Black & White mani!
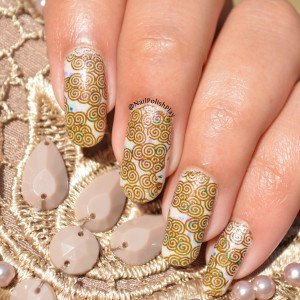
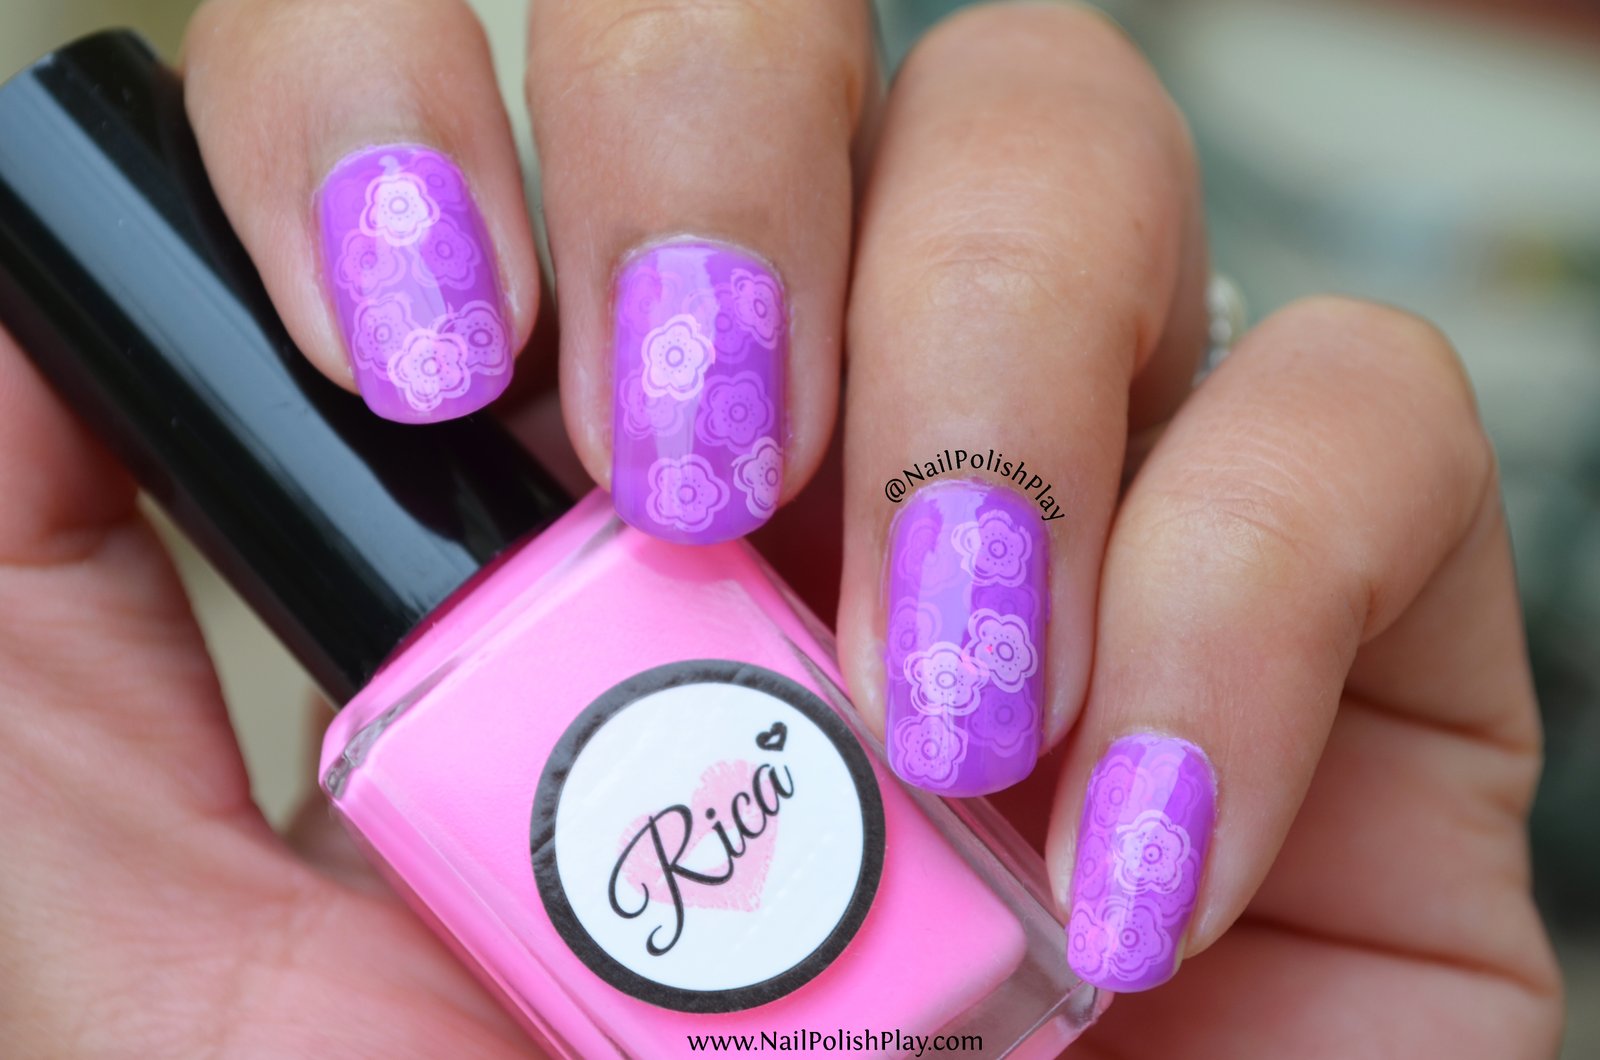
Here’s another with a pretty rose for a background:

This is what it looks like in colour:

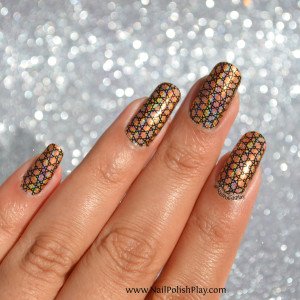
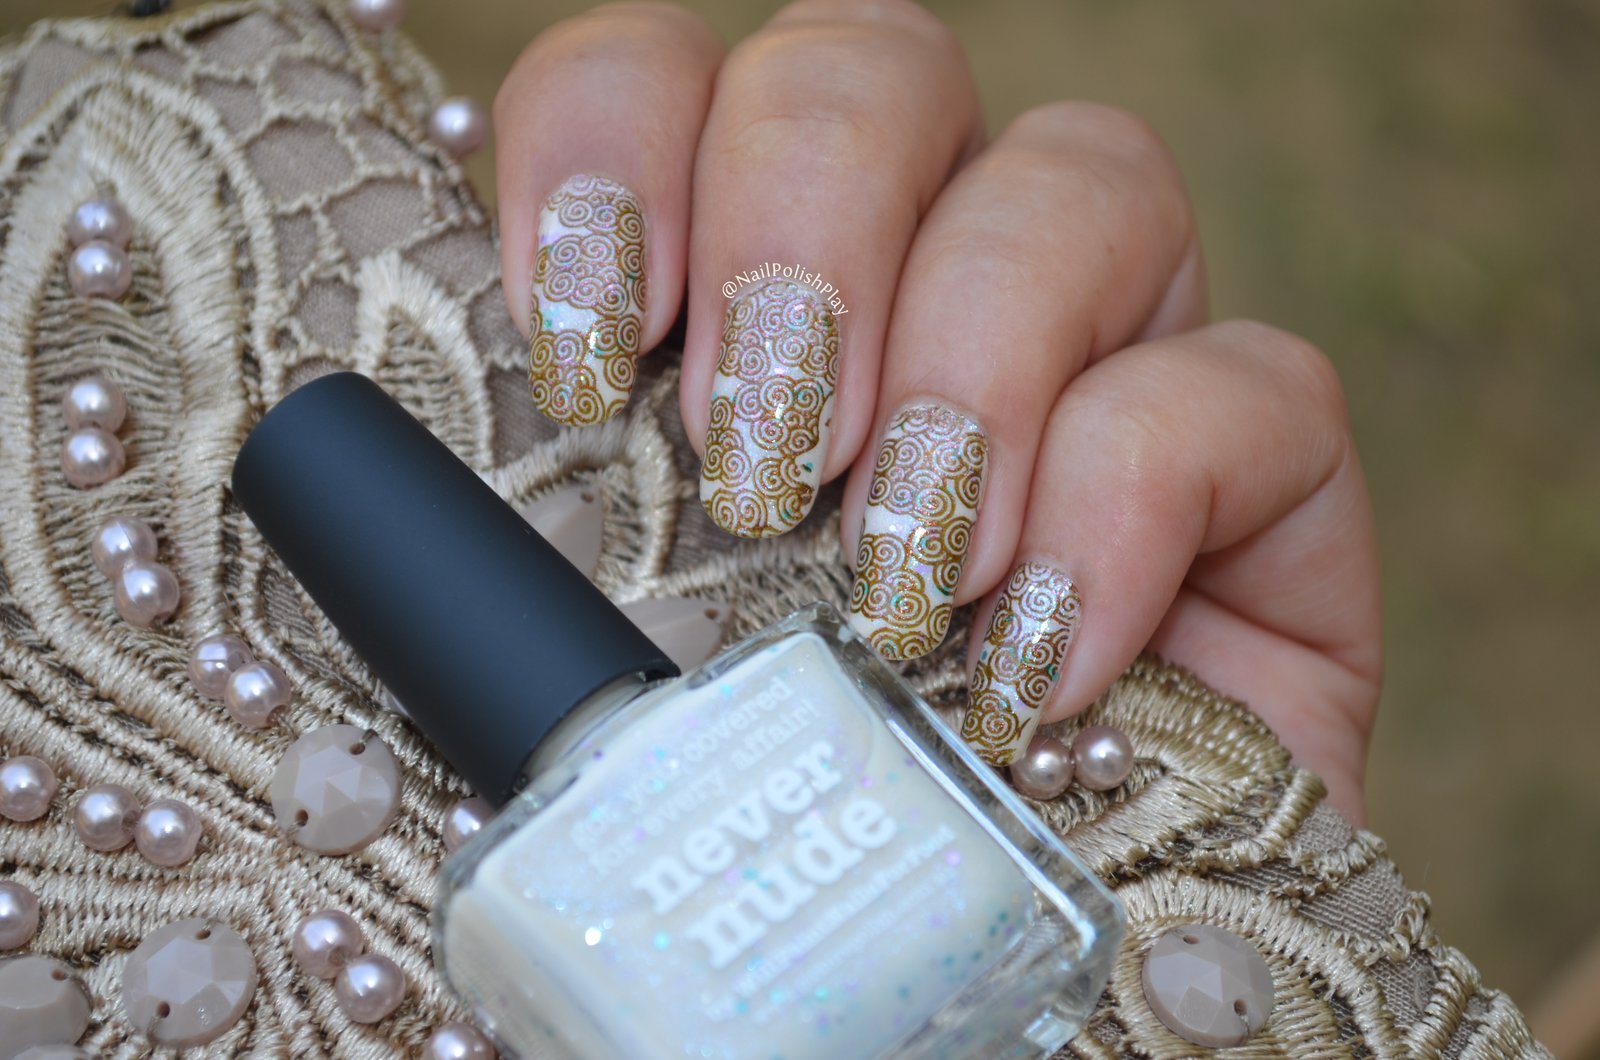
My next manicure features some holographic stamping using Color Club “Harp On It”. This is a fantastic silver holographic that’s opaque enough for stamping. I was gifted this and bought it off Amazon. Unfortunately, they do not ship to India, so good luck finding a polish mule!
I used B0.3 Mind Blown for stamping the swirly optical illusion design and Blackout – Sally Hansen Hard As Nails Xtreme Wear for my base colour.
I had to take some pictures indoor with flash cause the sun was not bright enough for the full on 100 Watt Holo effect to come through.
Here’s a daylight shot:

Indoors with flash:

Here’s the last one :

This is what I’m talking about. The image looks like it’s alive! How amazing is that!