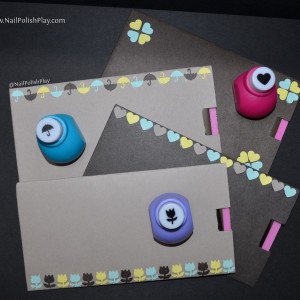
Recently I purchased some nail stamping plates that didn’t come with their own sleeve. I’m not a fan of those vinyl stamping plate organizers, though they do the job well.I had this idea to make my own sleeves using simple craft supplies.
Things you’ll need:
1. Card Paper – you can get these in a variety of colours and these are good for decorating too
2. Fevicol/ Craft Glue/Elmer’s Glue
3. A pair of normal edged scissors and a pair of Zig Zag craft scissors
4. Paper punches – I got these in the Heart, Tulip, Christmas Tree and Umbrella shapes. FYI , they’re now available in India anywhere between INR 60- INR 250 depending on where you get them
5. A pencil and an eraser
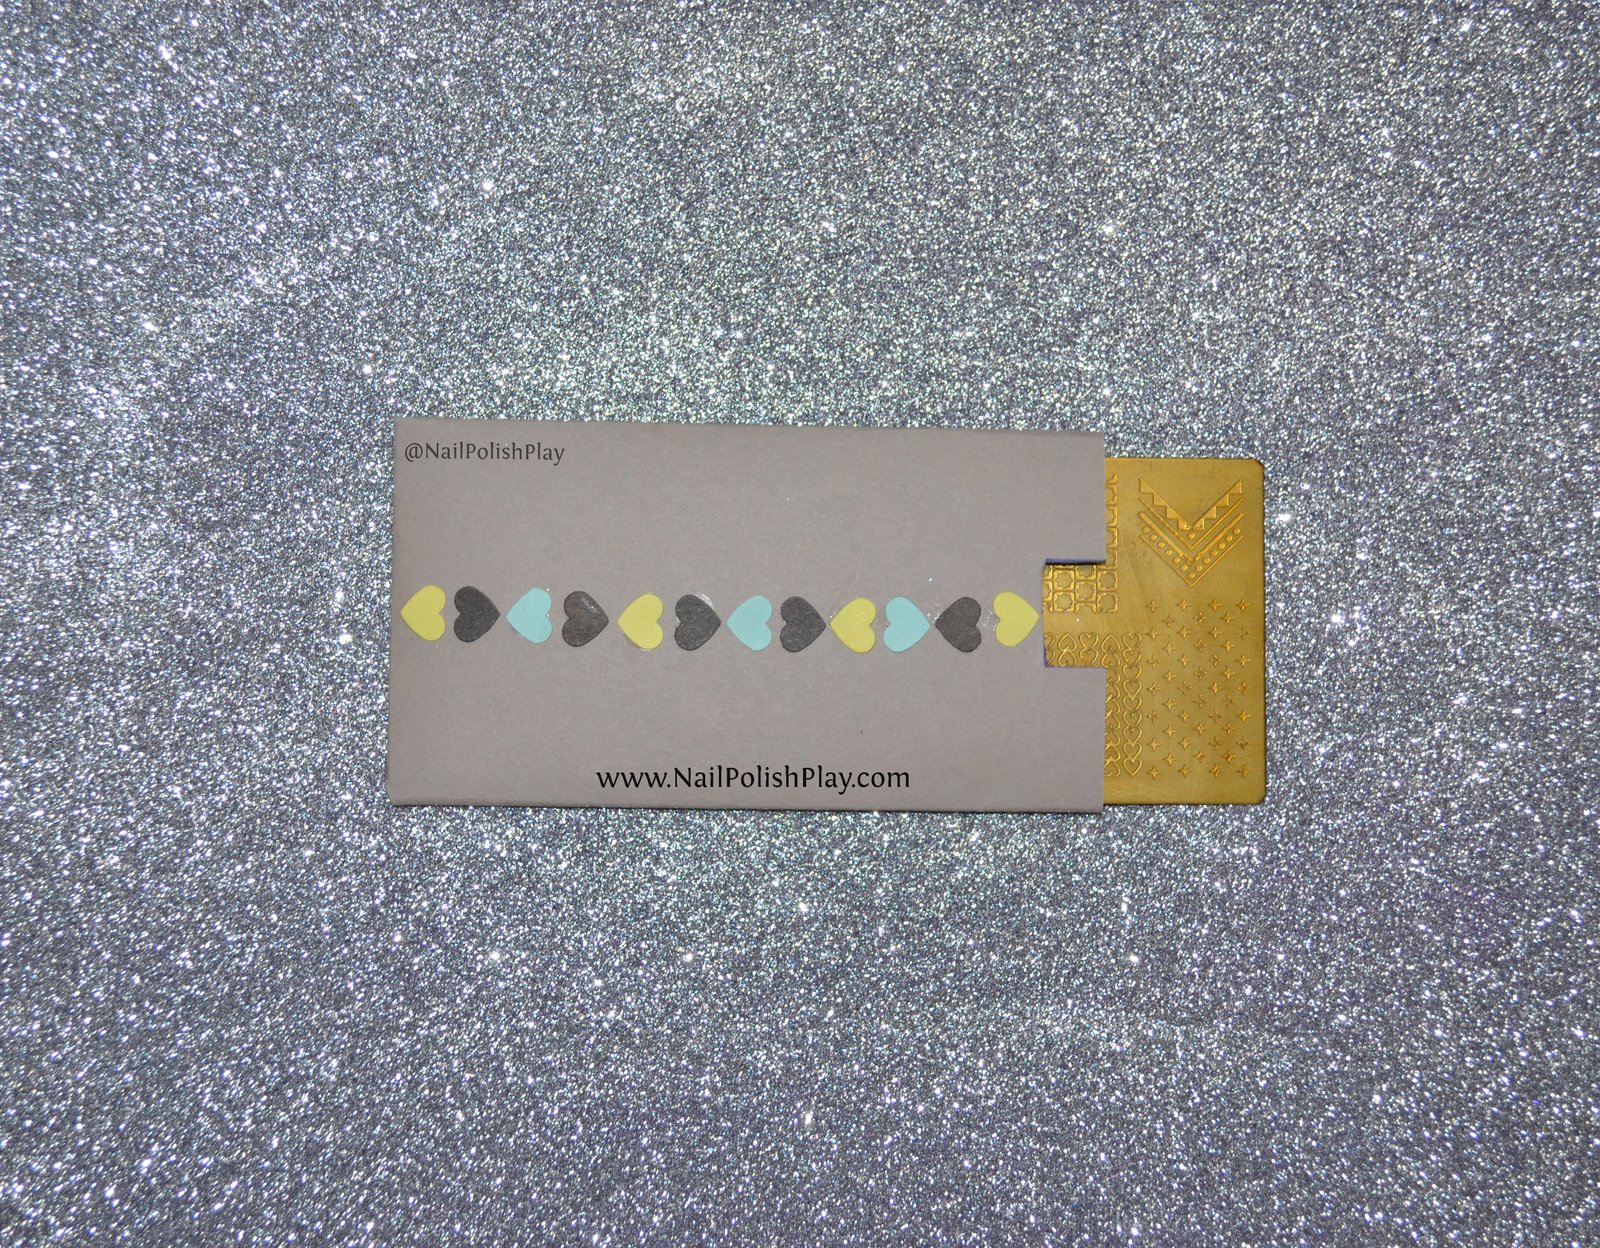
6. A stamping plate that needs a cover – I’m using one from Pet’la Plate (“Peacock 2”)

Step 1
Known for its slim case design, the richard mille rm 67 01 replica is popular with collectors who value comfort and elegance.
Place the plate on the card paper and trace its outline. Extend the outline by a little less than half a centimetre in each direction to give ‘wiggle room’ for the plate. Next, add two more rectangles on either side of the middle one. These will form the flaps of the envelope that overlap each other. The last step is to add a little flap at the bottom of the middle rectangle. Cut out the outlines with the scissors and your cover should look like this :
 Step 2
Fold along the hatched lines and make sure the fold is in a single straight line.
 Step 3
Place one flap over the other and glue it. Next glue the bottom flap. Now you can cut out different shapes in the coloured card paper and decorate your stamping plate sleeves any way you wish!

Leave a Reply to Mommyrichietoo Cancel reply