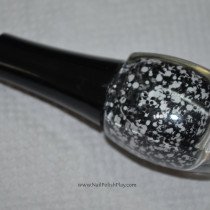
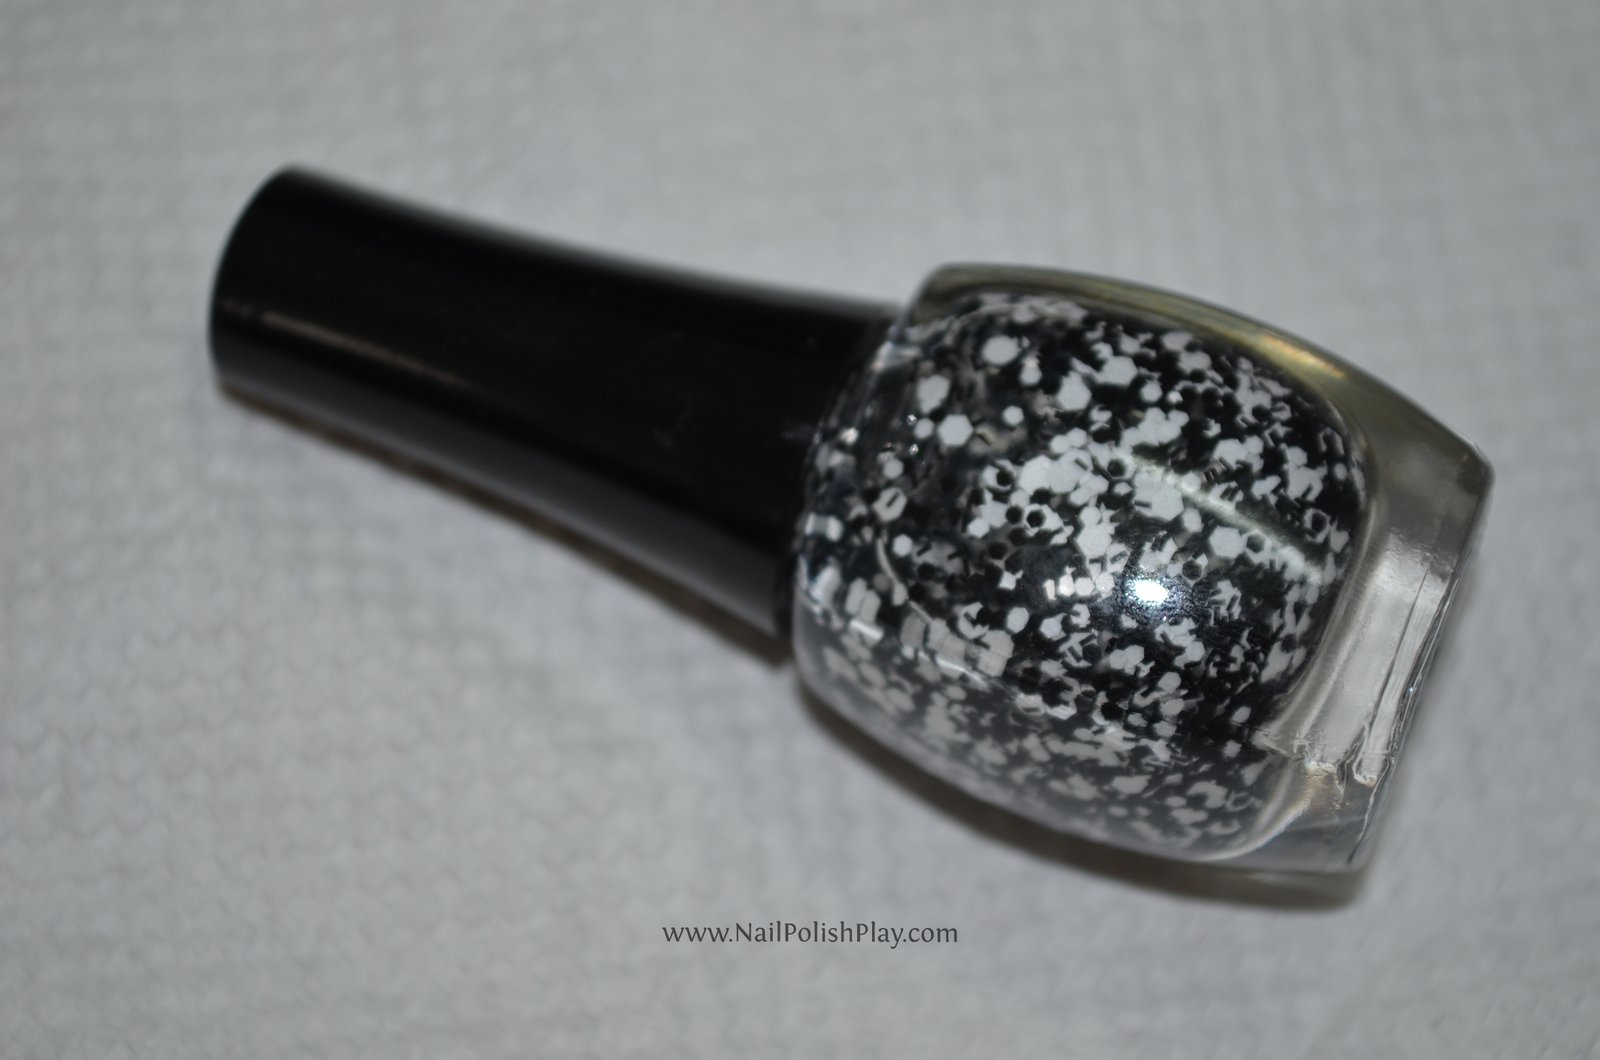
I have been obsessed with owning a black and white glitter topper ever since I saw Maybelline’s polka dots range a year ago. However, it is not yet available in India and I also couldn’t find any reasonable options for getting my hands on it ( >$50 for a polish that’s under $10! , highway robbery alert ) so I decided to try and make my own.
After reading endless articles/blogs/revision of chemistry concepts (when I’m obsessed, I’m OBSESSED!) I came to the following conclusions:
- Do not buy clear polish and put glitter in it because – the glitter won’t remain suspended. It’ll just settle at the bottom after a while, and you’d have to shake the bottle before every use. (Not attractive at all).
- If you haven’t used glitter meant for nail polish, it’ll probably leach colour and you’d have wasted a few bucks for nothing.
Now that begs the question, why won’t the glitter remain suspended?
This has something to with the clear polish that you use to mix your glitter in. The glitter polishes use a specific kind of suspension base (i.e. transparent polish with special chemicals) that has a chemical ingredient that allows the glitter particles to remain suspended in the polish and not settle at the bottom of the bottle into a goopy mess.
The same thing is true for the other DIY polishes where you can add old eye shadow to clear polish and get a beautiful shade that is only temporarily good. The eye shadow particles will also sediment at the bottom because the clear polish is not a suspension base.
Moving on, this is what you will need to make your own indie glitter topper:
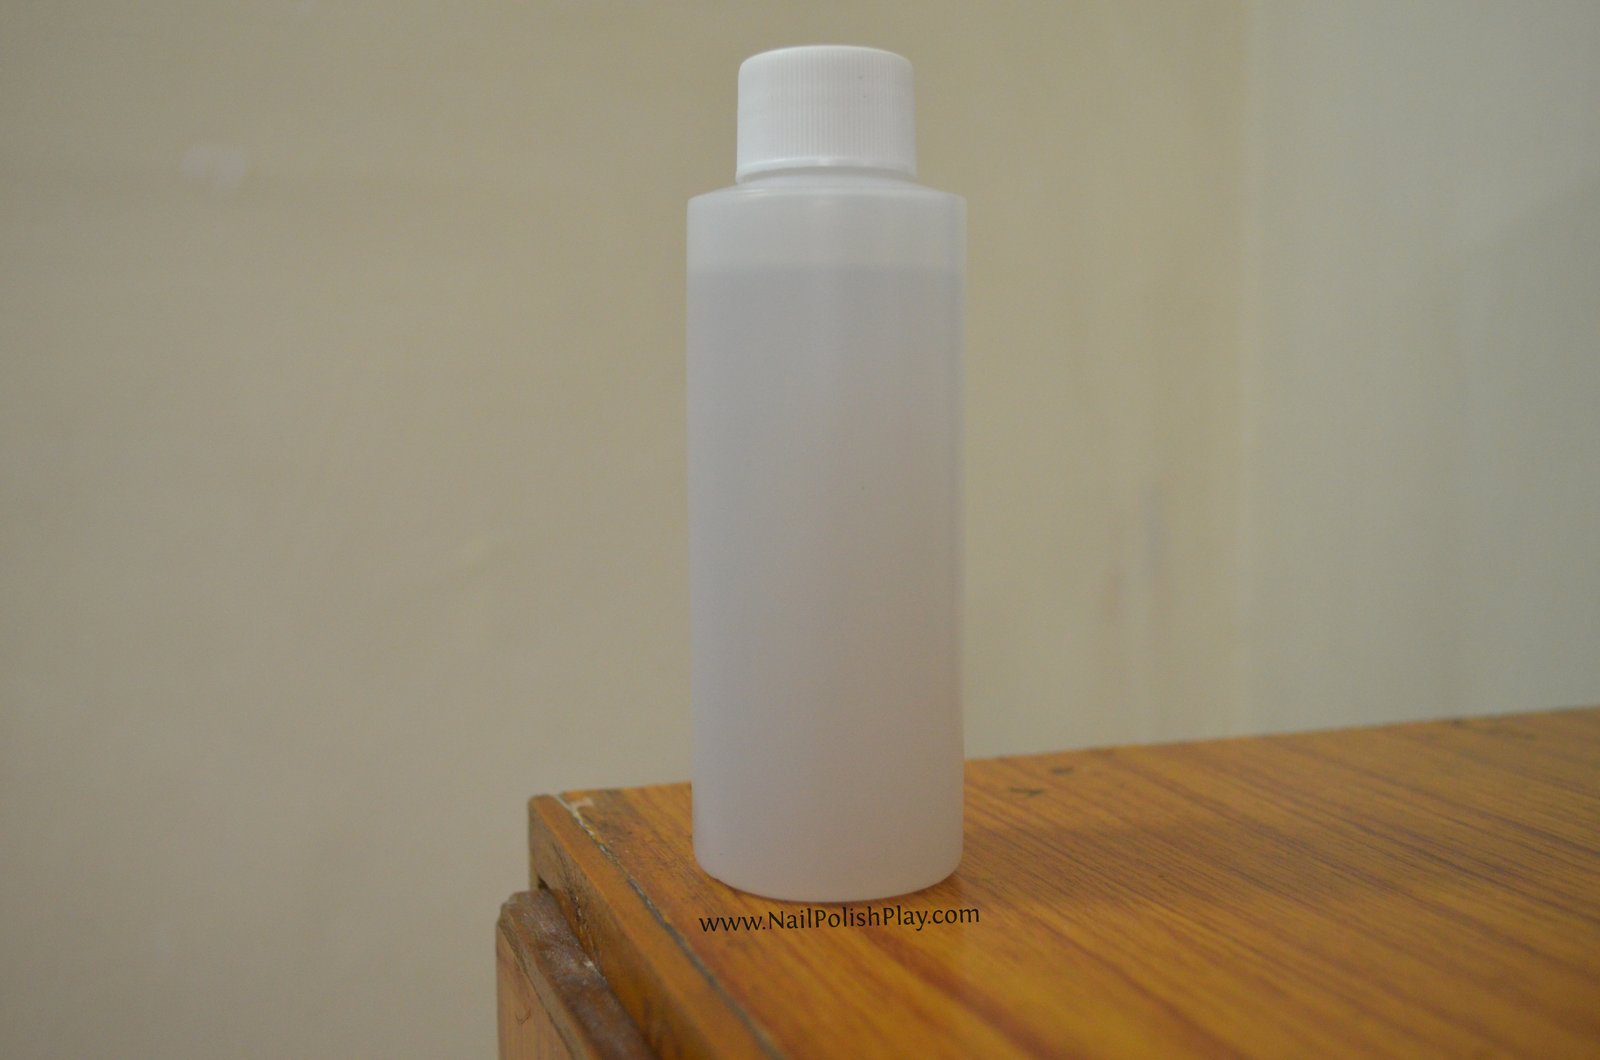
- Suspension base meant for glitter polish – As I said before, this is absolutely required since your glitters won’t remain evenly distributed inside the polish if you use any other kind. There are a lot of varieties out there and I would recommend a 5-free base if possible.Here is a pic of the one I used:
Alternative: you can use an existing glitter polish and customize it with other glitters that you like. This works because it already has the right suspension base.
The con?
It also has glitter. So, you can only add to it, you cannot make a 100% custom polish.
Where can I find glitter suspension base?
If you live in the USA, it’s fairly easy.
There are lots of online stores that sell it – tkbtrading, Etsy, misfitson8th and lots more.
If you don’t live in the USA, there are still options – color4nails, misfitson8th and loads of sellers on Etsy ship to international destinations.
The catch here is in the quantity. Since nail polish is flammable, it is categorized as hazmat( hazardous material) and anything over 4 fl.oz ( ~120ml) is classified as paint and the shipping costs become phenomenal ( >$100!!!). (I’m listing the USPS/Fedex classification here btw, but this is also generally true of other carriers/courier agencies).
But…. I’m guessing that no one wants that much suspension base!
- Glitter – This is the fun part! Go crazy and choose whatever type of glitter you like. The only requirement is that it should be solvent resistant glitter. This basically means that the glitter shouldn’t leach colour when it’s mixed with nail polish, and it should not disintegrate inside the polish either (eww.)

Once again, you can get your hands on some ‘solvent resistant’ glitters at lots of places. I got mine from Etsy.
- An empty nail polish bottle and some stainless steel ball bearings
A crazy variety of empty polish bottles are available on Etsy and Aliexpress…. OR, you can just clean out an old empty polish bottle using acetone.
Fill 1/4th of the bottle with acetone, shake it to get to the polish residue and then dispose the acetone in an environmentally safe way – do not throw it in the sink or in the toilet! This ends up in the ocean and leaches the coral reefs (yeah, I’m not kidding, Google it).

Instead, you can throw it on some tissues and wait for it to evaporate (this also harms our envt. btw, but I think it’s the lesser of the two evils)
Ball bearings aka mixing balls are easy to find. You can order them online from franken polish suppliers or get them at your local mechanic or hardware store. Just ensure that you’re getting the stainless steel variety of ball bearings, these are less reactive and mostly harmless. The other kind – chrome plated ones, are bad. The plating wears off when they are put into nail polish and what you get is an attractive glitter topper that’s also a carcinogenic cocktail.

- Tiny funnels, the kind used by perfumers.

These are also available online at a variety of stores. They are useful because you can easily put glitter into the empty polish bottle. They can also be used to pour the glitter suspension base into the bottle without spilling it all over your work area. You may also use them to put acetone into the bottle for cleaning it out.
- A well ventilated area.
Nail polish is volatile. Hence, you cannot use the fan or the air conditioner since it’ll probably result in the solvent evaporating from your suspension base and will result in goopy leftovers.
Keeping this in mind, sitting in an enclosed ill ventilated area is not a good idea. You can end up inhaling a lot of nail polish / acetone fumes and this will make you nauseous. So, sit outside when it’s not windy, or sit in a larger room.
To avoid damages due to potential spillage (acetone/ suspension base – the possibilities are endless), cover your entire work area with old newspaper and spread one or two tissues over the part where you’ll be pouring stuff from one bottle into another. This way, the tissue is handy for some on-the-fly wiping or mopping up.
Procedure:
- Take the empty polish bottle, put in 2 steel ball bearings. Put the funnel in the bottle and put in as much glitter as you deem necessary. If you’re making 15ml (.5 fl oz) of polish, you’ll need about 1-1.5 grams.
- Use the funnel to pour in the glitter suspension base. If you’re good at pouring stuff into a small mouthed bottle, you don’t really need the funnel.
- Close the nail polish bottle and shake like crazy. It’ll help if you have some nice background music to shake to, ha ha!
- As a precaution, if you’ve bought your glitter and suspension base from separate sellers, I would recommend that you mix a test batch and observe it for 24 hrs to ensure that (a)The glitter is not leaching into the suspension base and (b)The glitter particles are still evenly distributed in the nail polish and have not sedimented at the bottom.
That’s it! Lemme know what you think in the comments below.
Leave a Reply to Divya Pandey Cancel reply