Hello!
I had some time over the weekend so decided to get my hands dirty with stamping decals. I love stamping decals, they befuddle people 😀 Many times it has you wondering “How on earth did she do that?!”. Though I love them, I’m a little lazy when it comes to making the decals. These decals were originally intended for my mother. I went ahead and made extra and decided to use them.
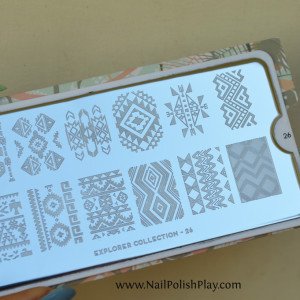
Since I was making decals, I decided to make them as colourful as possible and settled on an Aztec/Tribal print from one of my MoYou plates – Explorer 26. This is probably my favourite collection out of all the ones that MoYou London has released! Such beautiful prints from all over the world!
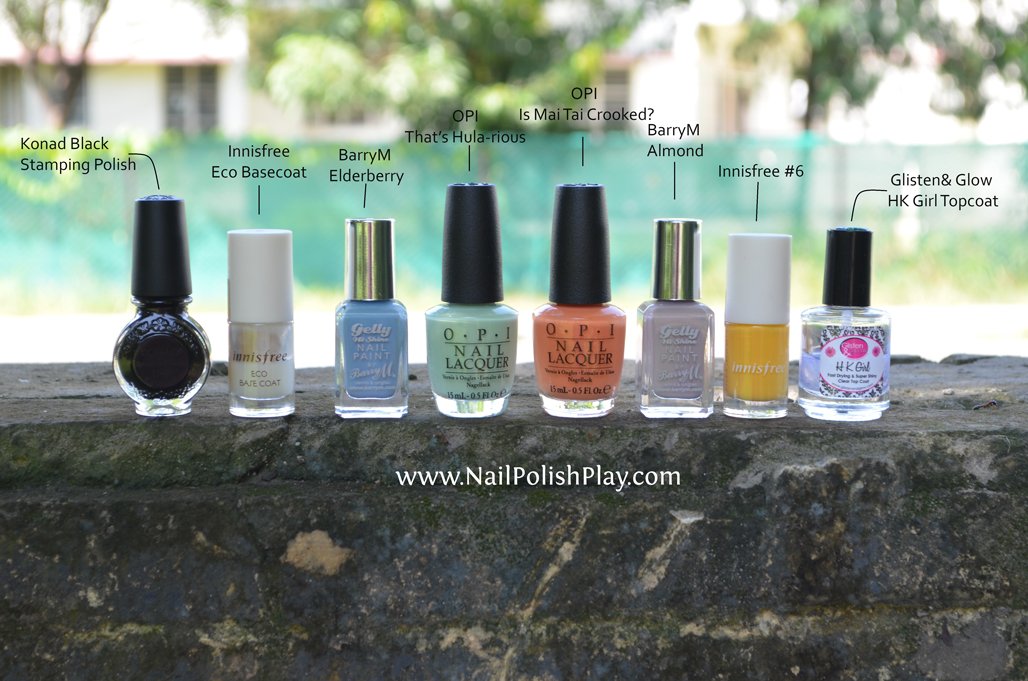
Here’s all the polishes I used:
BarryM – Elderberry & Almond , They ship to India vis UPS, Shipping is expensive yes, but when you’re a nail polish addict, it’s all part of your obsession 😀 , and you get your BarryM’s in 3 days flat! All the way from the UK, beat that!
OPI Is Mai Tai Crooked? & That’s Hula-rious from the Spring 2015 Hawaii Collection. I bought these when I was on holiday in Russia, so I’m putting links to Amazon here.
Innisfree Eco Basecoat and No.6 – the cheerful yellow that is nameless because Innisfree gives numbers, how sad 🙁 Both were purchased from the Innisfree store and so I don’t have an online link for you, sorry!
HK Girl Topcoat from Glisten & Glow purchased from www.color4nails.com
I used 5 XL Gold stampers from FabUrNails. These are awesome to make decals on! The cap holder is sturdy and sits well.
Here’s a behind the scenes look:
Here’s the steps I used to make my decals:
- Pick up the image on your stamper with black stamping polish.
- Use a dotting tool or a toothpick and all the colours you want, and fill colour in the individual details. You need not be very neat as the black stamping polish camouflages most of the overlaps.
- Wait for everything to dry and cover the entire decal with white polish. I did this so that the colours would pop more.
- Once the decal is dry, peel it off the stamper. How do you know if your decal is dry? Well, it shouldn’t stick to the stamping head and should ‘pop’ right off. If it’s pulling when you try to peel, it’s clearly not ready and you risk tearing your decal.
- Use a pair of nail scissors and cut the decal into a size that will fit on your nail leaving a little bit extra to wrap under the free edge of your nail. This sort of ‘caps’ the nail and makes your manicure last longer.
- Now apply polish on your nail and wait for it to be almost completely dry. When it’s very very lightly tacky, place your decal over your nail and press down gently to get it to stick to your nail. Press down gently or you’ll end up smudging your nail or tearing the decal or both.
- Wrap the tiny amount of extra decal under the free edge of your nail and smooth out by pressing or using the back of your nail art brush like a rolling pin.
- Apply topcoat and wait for it to dry. Once it’s dry, clean up the mess around your cuticles with a clean up brush and polish remover. That’s it!
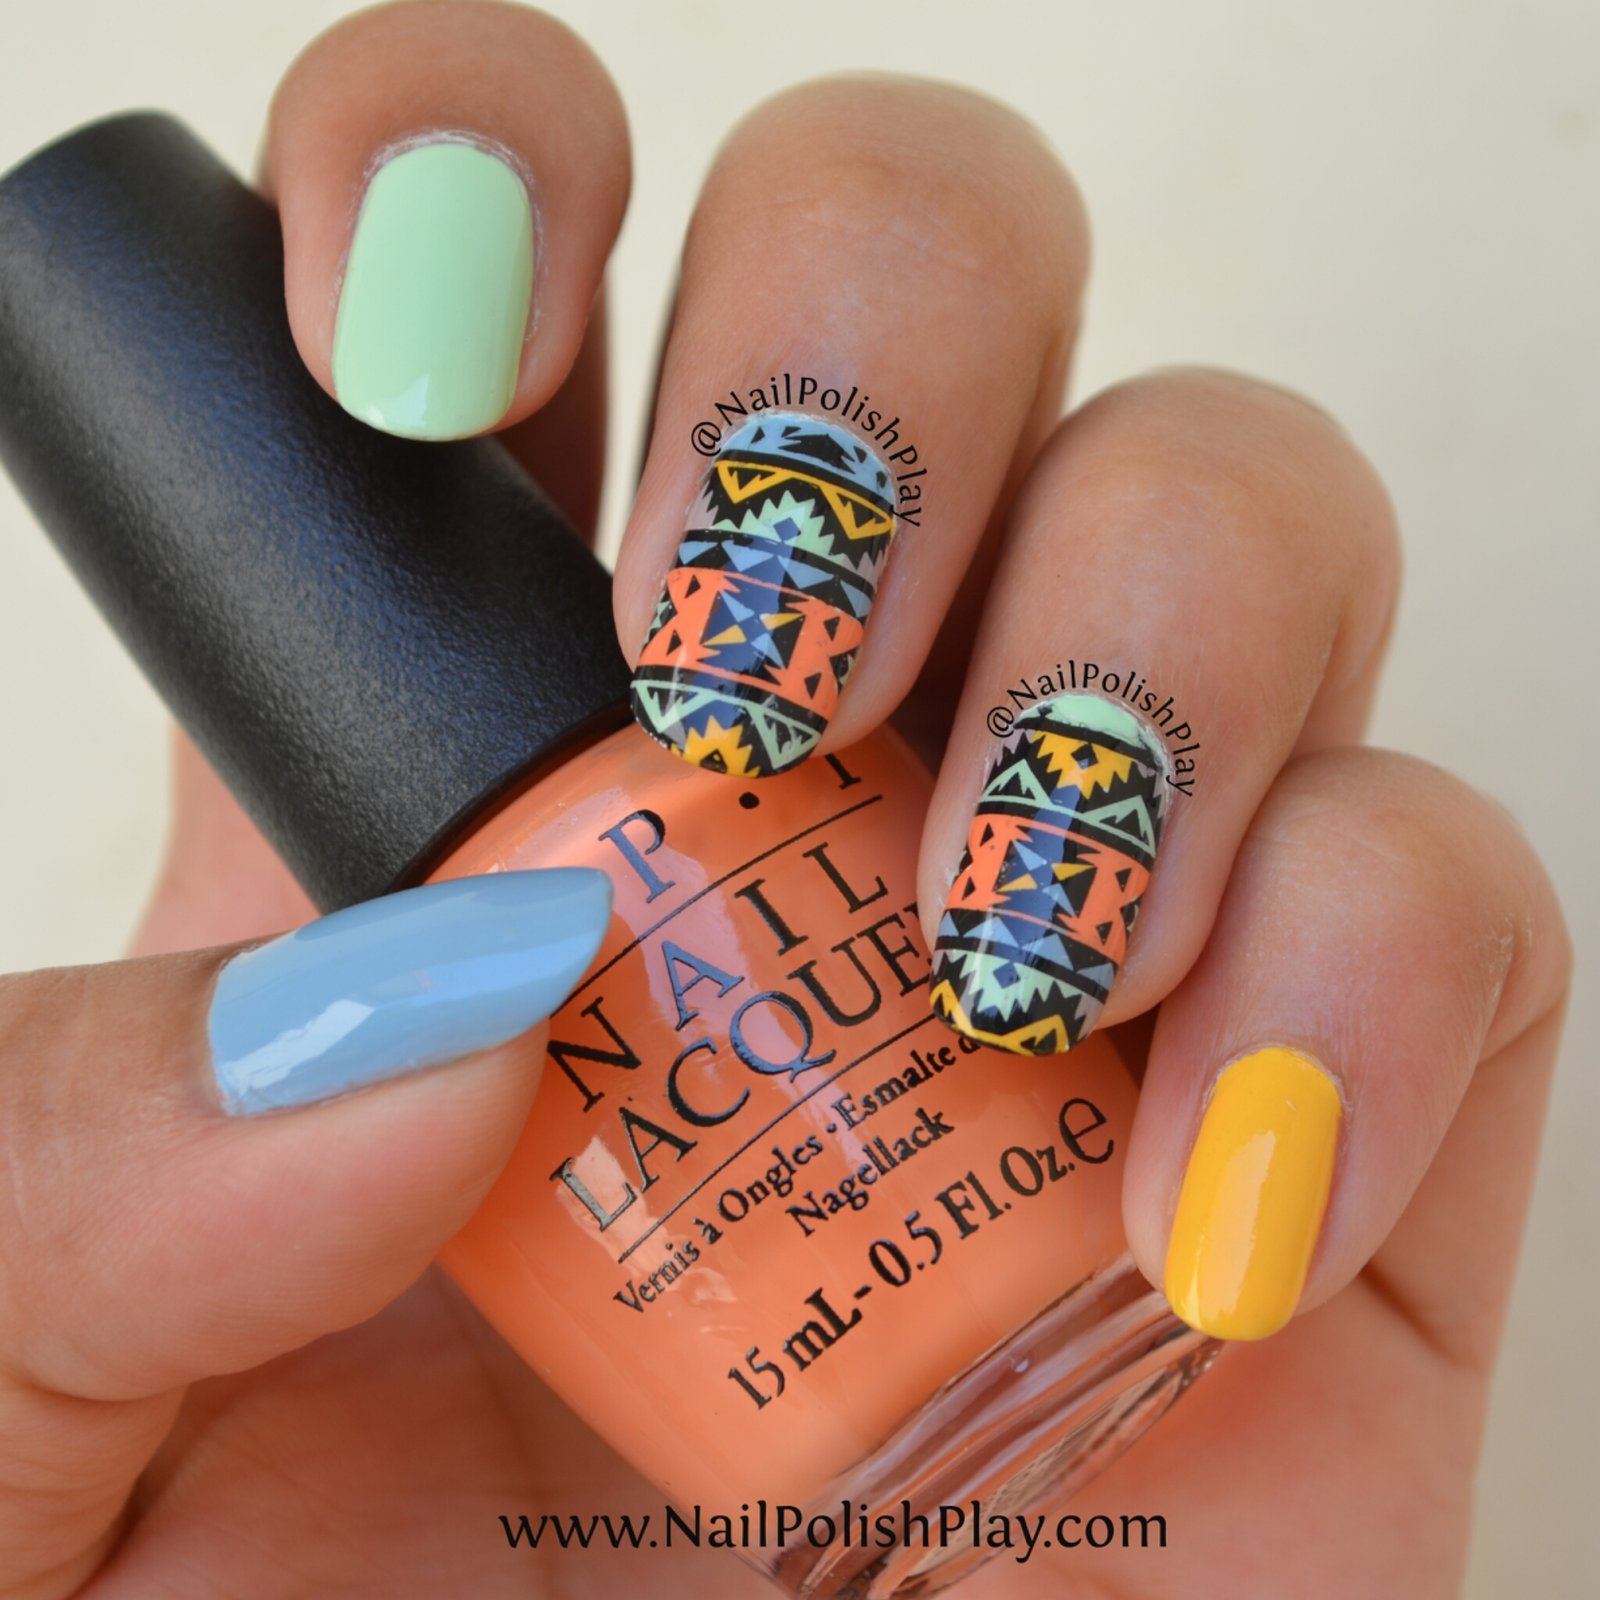
Here’s the finished result:
That’s part of my front yard in the background 🙂
Some more pictures!
Here’s my thumb too :
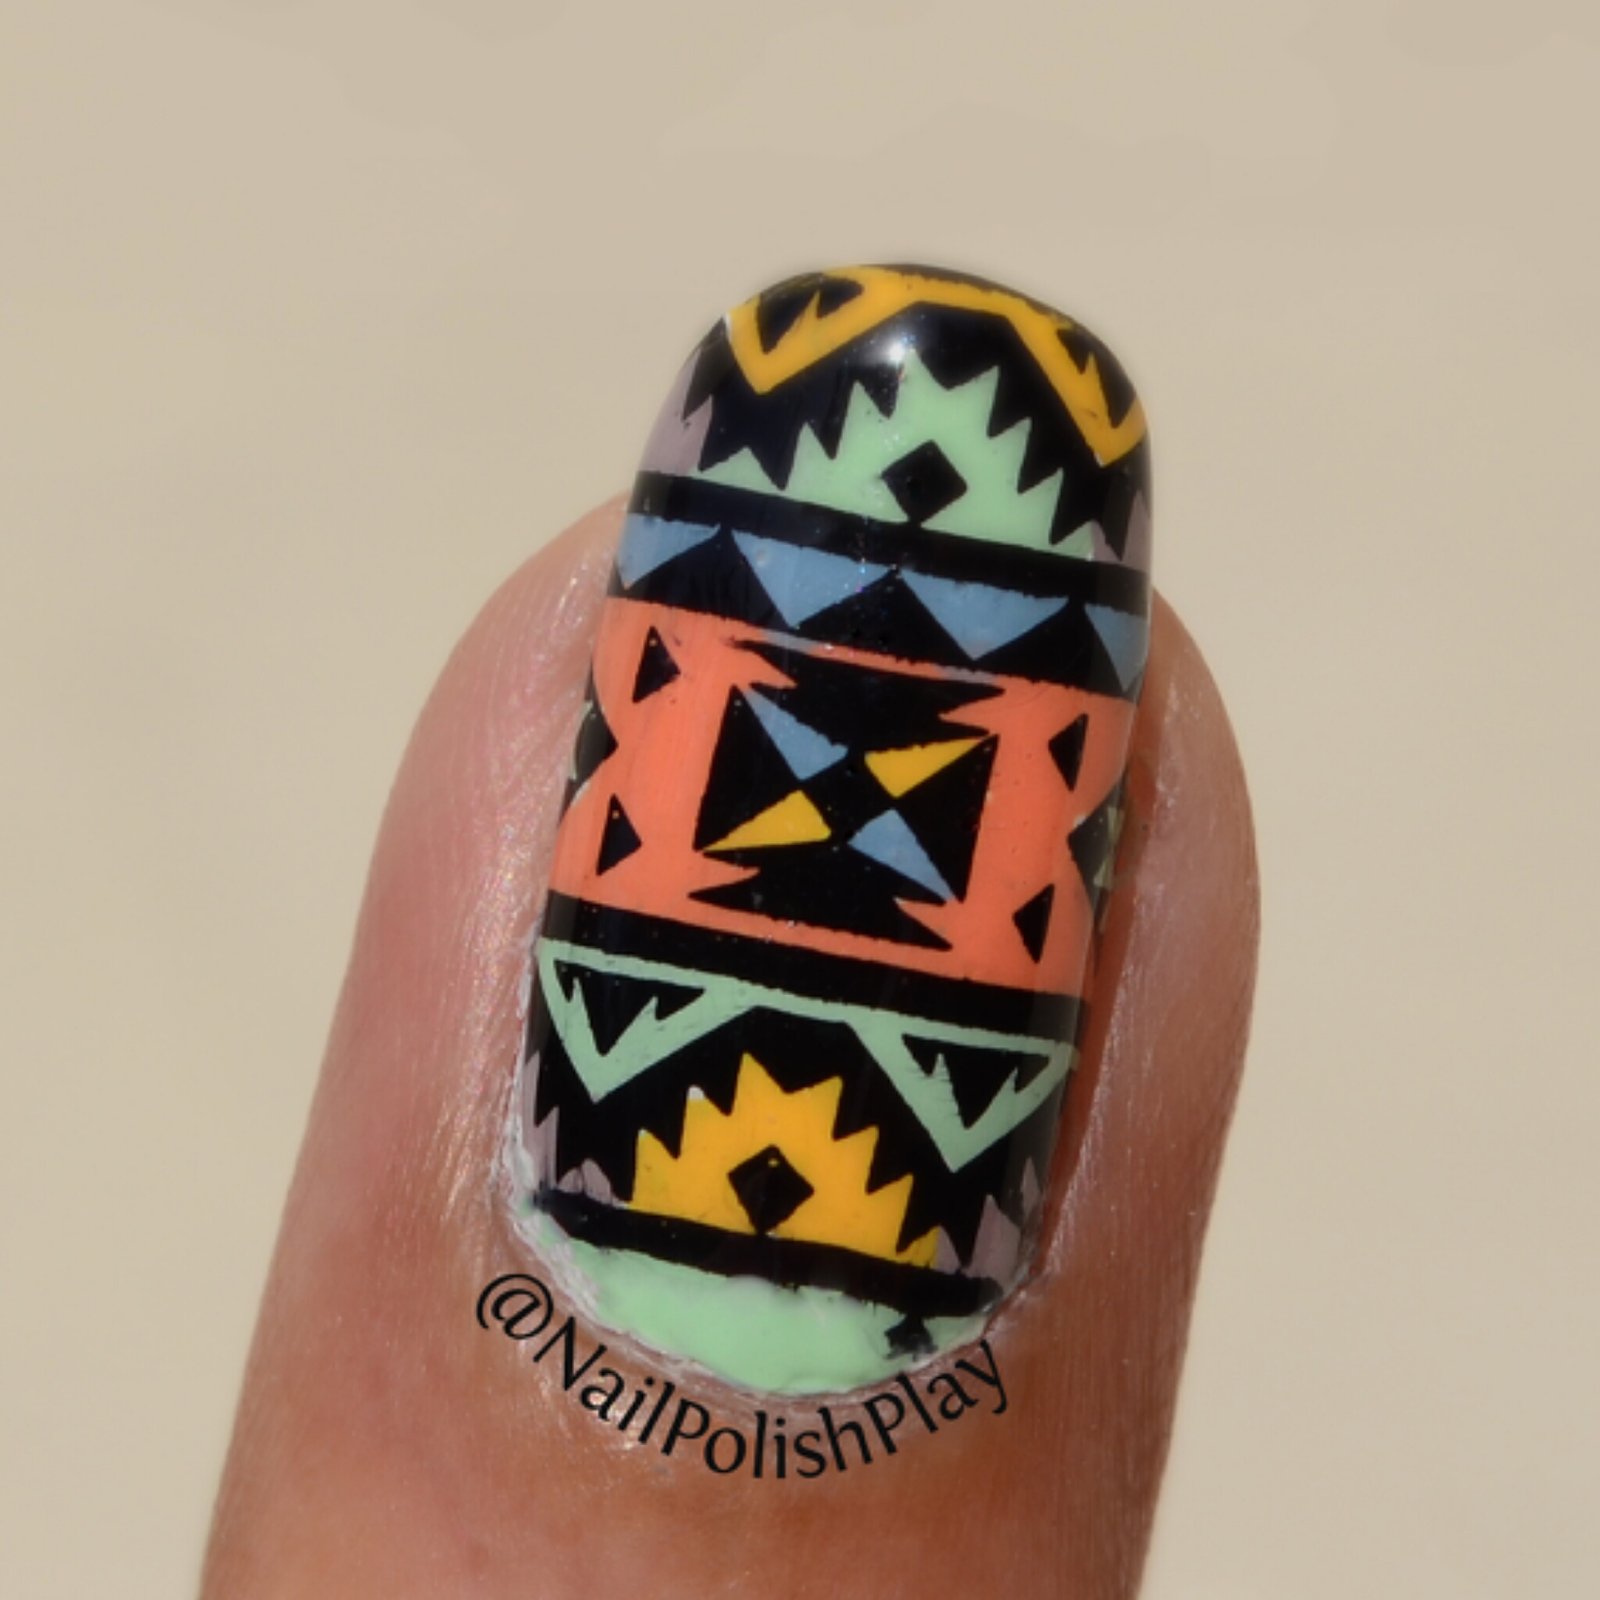
I leave you with this macro taken in the sun, what do you think?


Leave a Reply to Polished Techie Cancel reply